 Skip to content

Key Takeaways
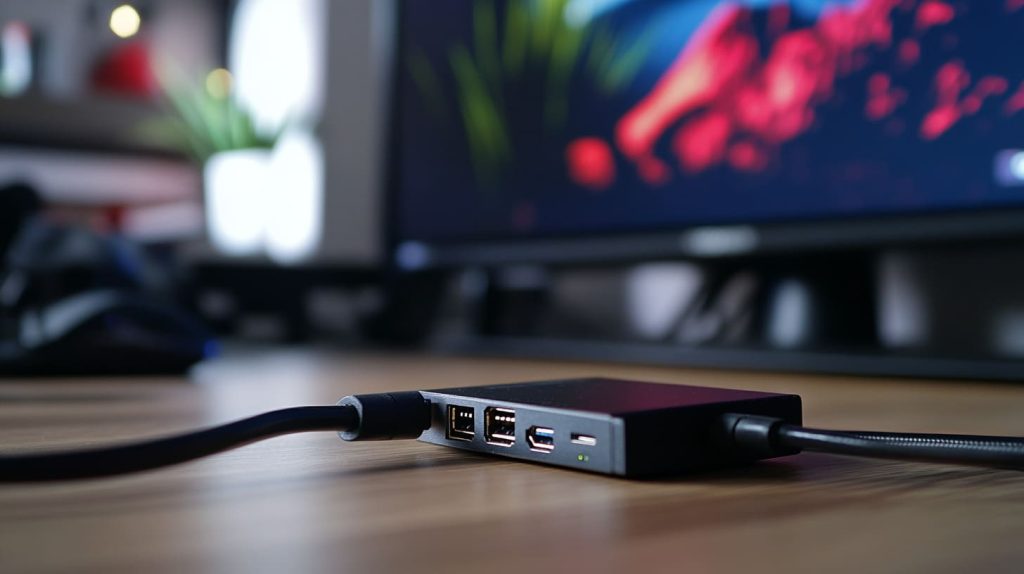
The Raspberry Pi has become an affordable, compact single-board computer that’s ideal for building a powerful, versatile media center. Its energy efficiency makes it an elite choice for converting traditional TVs. The fanless design makes for a near-silent experience as you run all your favorite new applications.
The Raspberry Pi provides all the necessary ports, including HDMI output and network. This provides it with the ability to handle virtually any media format and streaming service. Its ability to work with a variety of operating systems makes it a surprisingly versatile platform for novice users and tech heads alike.
Kodi, the powerful open-source media center application, is highly integrated with Raspberry Pi, and the two make for a great combination. Its customizable, user-friendly interface and a huge catalog of add-ons offer a complete media playback experience personalized to individual preferences.
To get started, you’ll need a few key pieces of gear, most notably a microSD card and HDMI cable. A high-quality internet connection is important, both to download updates and to have access to many great media sources.
For the best media streaming experience, make sure to always keep Kodi and its add-ons up-to-date. Don’t forget to calibrate your video and audio settings. Just a little tinkering into the advanced settings can make a world of difference in playback quality.
Addressing frequent issues like connectivity issues or playback errors can be easily overcome with simple troubleshooting steps and a helpful community. Staying on top of system updates and using online community resources can go a long way in addressing even the most stubborn problems.
Running Kodi on a Raspberry Pi is one of the most resource-efficient ways to turn the microcomputer into a versatile media hub.
Merging Raspberry Pi’s small footprint with Kodi’s rich media experience creates an effortless streaming and playback solution. You install an affordable, flexible solution that meets all your media requirements.
It’s that mix of simplicity and functionality that is creating magic and moving the needle, making technology simple, easy, and useful.
Jump into this groundbreaking new way to experience limitless entertainment options at your fingertips.
What is a Raspberry Pi
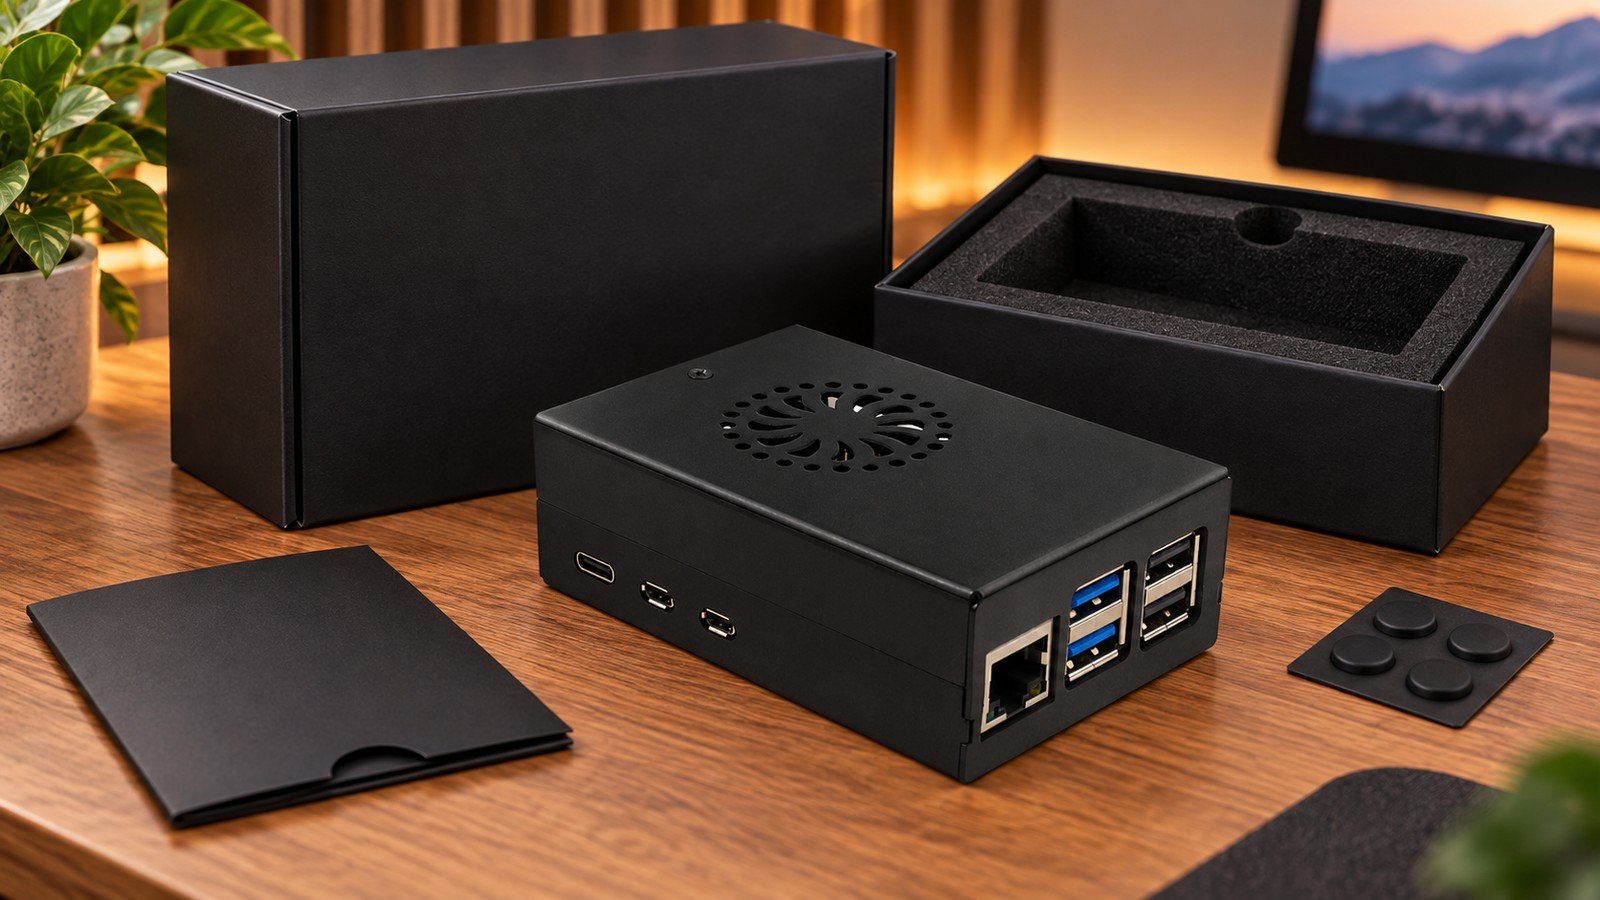
Among them, the Raspberry Pi is unique as the smallest and lowest-cost single-board computer on the market. It’s an incredibly versatile little machine that can power anything from Kodi media centers to home automation systems. Its unique design has captured the imagination of young and old tech hobbyists alike, providing a platform that facilitates creativity and learning.
For the best experience with Kodi addons, I strongly suggest that you use the Raspberry Pi 4 or later models. They provide a superlative experience to boot! This little technological wonder will change the way you watch TV, turning any regular TV into a smart TV loaded with hundreds of the latest apps. The fanless design increases energy efficiency while ensuring silent operation. That’s what makes it the number-one choice for powering your home media center!
An equally powerful feature of the Raspberry Pi is its portability. Its small size enables users to easily relocate it, moving it from room to room or even from home to home. Visualize the streamlined experience of bringing your complete media ecosystem along whenever you’re on the move, minus the added heft of traditional media players.
Using the Raspberry Pi can bring new life to outdated devices, turning them into vibrant media hubs. It can double as a headless NAS, too, further increasing this singular tool’s versatility.
Features and Capabilities
The Raspberry Pi features all the necessary ports, including HDMI, an audio jack, and wired or wireless network connections. This architecture enables simple integration with existing and future devices and networks, making it a powerful Kodi media center. It boasts support for almost every media format imaginable, as well as popular streaming services like Netflix and Disney+, which enhances its capabilities as a media hub.
It works with a range of operating systems, such as Raspbian and Ubuntu, allowing for the installation of various Kodi addons. This versatility lets it accommodate the varying needs of different users. For makers and tinkerers, the Raspberry Pi provides a huge opportunity to create custom setups, including unique configurations for media streaming.
Through the flexible architecture, users can customize their media experiences, creating environments that cater directly to unique requirements. With its flexible design, the Raspberry Pi opens up a world of possibilities. It’s super simple to make your own retro gaming console or smart home hub!
Benefits for Media Streaming
As an affordable-based alternative to conventional media players, the Raspberry Pi allows the user to buy low without losing high. With Kodi, users can quickly and easily access all their favorite local and online media sources, turning their Raspberry Pi into an entertainment powerhouse. It’s a straightforward and low-cost solution to upgrade current hardware.
This convenience allows users to upgrade their setups as technology continues to evolve. Community support is one of the biggest benefits. The Raspberry Pi community is large and active, so there’s no shortage of resources when it comes to troubleshooting issues or making enhancements.
If you’re new to tech, or a long-time technology enthusiast, there are forums and documentation available that will provide you with the tools you need to succeed. It’s this collaborative environment that helps users to tackle challenges and make the most out of their Raspberry Pi journey.

Understanding Kodi
Kodi is an exceptional media center application that’s built from the ground up to help you get the most out of the media you play. This powerful platform brings all of your different media files into one easy-to-use space. Watch videos, listen to music, and view photos—all easily in one place. With the help of various Kodi addons, users can enhance their viewing experience even further.
Its intuitive desktop interface makes it easy to find your way around and organize your media. This approach creates an easy-to-use experience for novices and experts alike. The design is clean and very user-friendly. It keeps media organized beautifully, allowing users to focus on enjoying their content and spending less time finding it.
As an open-source application, Kodi is a living, breathing entity that flourishes with regular updates and improvements. A passionate and talented community of developers and enthusiasts drives this innovation. That’s because we’re continuously improving Kodi and adding new features, so you’ll always have the most up-to-date Kodi service enhancements at your fingertips.
One of Kodi’s most impressive aspects is how well it can connect to almost any kind of media source. Whether you're accessing local files stored on your device or streaming content from popular services like Netflix, Kodi provides a versatile solution. This integration goes even further with niche services and plugins, opening up your media options even more.
Key Features of Kodi
Kodi is compatible with a huge range of media formats. That versatility means you’ll be able to effortlessly play just about any video, music, or photo file. This flexibility is why Kodi is such a popular option for media lovers.
The interface is very flexible and users can totally customize their entertainment experience just the way they like it. From theme modifications to custom shortcuts, Kodi transforms to fit your unique preferences. Its huge library of add-ons makes Kodi even better.
These add-ons range from streaming services found on other platforms to advanced media organization tools, so you’ll never run out of unique ways to customize and expand your device. Kodi provides full remote control capabilities. This makes your user experience even better and allows you to control your media center from virtually anywhere in the room with ease.
Compatibility with Raspberry Pi
Kodi runs perfectly on all Raspberry Pi models, which is a big reason for its popularity among Raspberry Pi users. The new performance optimization features significantly enhance playback on Raspberry Pi hardware, making it a top choice for those seeking a powerful Kodi media center experience. Together, these features provide a seamless and quick user interface that can handle various Kodi addons with ease.
There are even specific builds made for Raspberry Pi users to provide them with the best performance possible with focused features. This community-driven development means that support and updates for Kodi on Raspberry Pi will continue long into the future.
With Kodi now included in the official Raspbian package repository, installation has become a straightforward process. Although I encountered a few issues reported by other users with Kodi running on Raspberry Pi OS Bullseye, my overall experience remained favorable.
If you’re interested in trying it out, Kodi allows for a simple setup process. After tweaking a few settings, like increasing the CMA allocation for 4K HEVC files, you’ll be treated to a stunning media experience that showcases everything Kodi has to offer.
Setting Up Raspberry Pi for Kodi
Setting up a Raspberry Pi for Kodi transforms your device into a powerful Kodi media center. This straightforward process involves gathering the right equipment, downloading various Kodi addons, configuring basic settings, connecting to a network, and installing plugins to enhance functionality.
1. Gather Necessary Equipment
Getting started with Raspberry Pi and Kodi requires some key ingredients. You’ll need to begin with a Raspberry Pi board, ideally the Raspberry Pi 4 or newer, since this offers the most complete experience.
A microSD card of at least 32GB, Class 10, ensures smooth operation. A good power supply and HDMI cable are required to connect to your display. Including peripherals such as a keyboard and mouse makes the process of initial configuration much easier.
We recommend adding these optional accessories for improved comfort and enjoyment. Using a remote control simplifies navigation considerably, and the HiFiBerry DAC+ produces exceptional sound quality. As always, double-check individual component compatibility with your Raspberry Pi model before completing your purchase.
2. Download and Install Kodi
Installing Kodi on your Raspberry Pi can be done through several methods. This method involves using the Raspberry Pi's terminal to download Kodi directly. Alternatively, you can download a pre-configured Kodi image from the Raspberry Pi organization’s official website.
Use this tool to flash the Kodi image onto your microSD card. No matter which method you choose, you’ll need to download the appropriate Kodi version for your Raspberry Pi model. More experienced users may prefer to install the Raspberry Pi Imager from the command line.
This process is one example of the versatility it provides. For a dedicated Kodi setup, we’d recommend using the LibreELEC USB-SD creator app.
3. Configure Basic Settings
After installing Kodi, configure the initial settings to personalize your experience.
Language: Choose your preferred language for the interface.
Timezone: Set the correct timezone to sync with local time.
Video Output: Adjust settings for optimal display quality.
Making some simple changes to the interface will make it more accessible. Configuring your library sources will make all of your media files easy to find and use. Save your settings to keep this customization every time Kodi starts up.
4. Connect to Network
Connecting your Raspberry Pi to the internet can be done via:
Ethernet Cable: Provides a stable wired connection.
Wi-Fi Setup: Offers flexibility and less clutter.
Inside Kodi, set up those network settings to binge-watch in style. A solid ethernet connection is key to ensure the smoothest media playback possible. Always be sure to test the connection after setup to confirm that it is reliable.
5. Install Add-ons and Plugins
Enhance Kodi's capabilities by installing popular add-ons like:
YouTube
SoundCloud
Visit the Kodi repository to install official add-ons and find third-party ones safely. If you install any gray add-ons, be sure to use a VPN to protect your privacy.
HDMI CEC allows you to use your TV’s remote to control Kodi. This new feature makes viewing more convenient than ever so you can enjoy the experience to the fullest.
Enhancing Media Streaming Experience
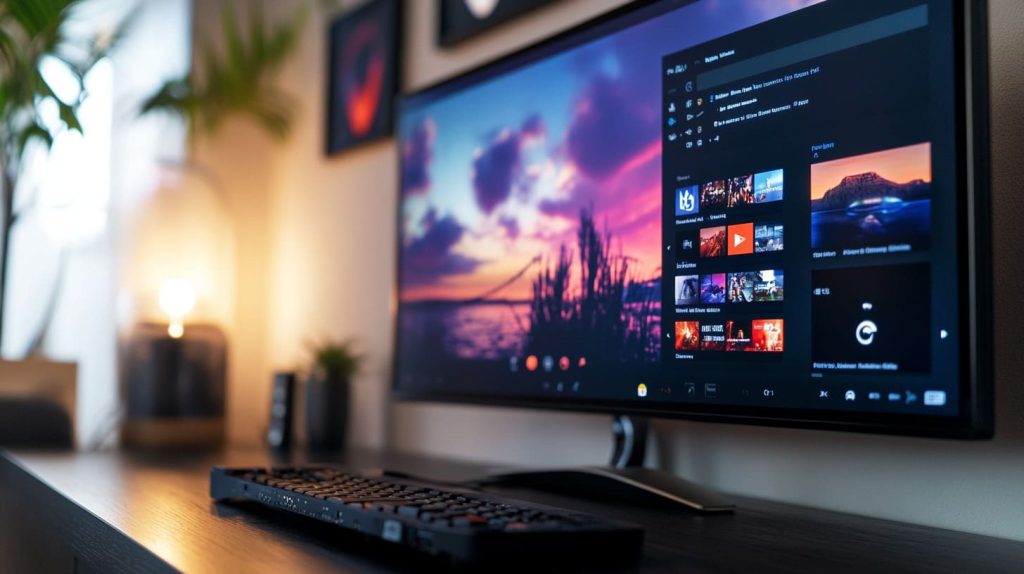
Enhance your media streaming experience with Raspberry Pi and Kodi add-ons using these smart tips and tricks. Following this guide will ensure you get the best playback possible and keep your users happy. Finding the right balance involves providing a consistent, high-quality experience that caters to both user preferences and the capabilities of the Kodi media center.
Optimizing Video Playback
Improving video playback quality on Kodi involves a few straightforward techniques. Lowering resolution settings helps a lot. For instance, disabling 1080p resolution in the menus can achieve a 20 percent improvement in navigation menu speeds on Raspberry Pi 1.
Enabling hardware acceleration is essential for smoother playback. This option lets the Raspberry Pi’s GPU take over video processing to alleviate the load on the system’s CPU. Choosing the right codecs for your media type maximizes compatibility and quality.
Testing various configurations to see what works best will allow you to find the optimal settings to fit your needs. Buffering, a frequent feature of media streaming, can be mitigated by adjusting network preferences. Using a Kodi VPN alongside your Kodi streaming platform definitely ensures your privacy.
It stops ISP throttling, making your media streams more reliable and improving your overall media streaming experience. Exploring video caching solutions can help deliver an even better playback experience for hot trending content.
Improving Audio Quality
Audio quality is equally important and can be enhanced by refining Kodi's settings. Change your video settings to improve your viewing experience. Surround sound, volume normalization, and the ability to choose your own audio output all help make your media streaming experience excellent.
This is because high-quality audio files are one of the biggest factors to playback quality. Pairing these with compatible audio equipment, such as a speaker system with a subwoofer, can further enhance the experience. Whether checking audio settings across a simple video or a complex 4k media wall, it’s easy to find the right balance and performance.
Customizing User Interface
Tailoring the Kodi media center user interface to fit personal preferences enhances usability and enjoyment. The flexibility in Kodi is immense, with skins, layouts, and themes galore. Try out a variety of different Kodi addons to find one that suits your personality.
Arranging media libraries with a consistent organizational structure makes it easy for viewers to find what they need. Making customized shortcuts to frequently used content helps enhance usability.
Kodi's extensive range of add-ons enriches the media streaming experience by offering access to a wider array of content and playback enhancements. Therefore, it is strongly recommended to use a larger capacity MicroSD card (32GB or 64GB) to support various Kodi packages.
This means that you can locally store your media files for easy access and smooth streaming. Kodi has built-in support for streaming content from local files, network shares, and a range of online services.
Its expansive Wiki only bolsters this ability, providing a wealth of knowledge to users, both old and new. This extensive knowledge base can guide you through installation, Kodi addons, and user guides, making the system more intuitive over time.
Troubleshooting Common Issues
If you have decided to use Raspberry Pi with Kodi, here are some common issues that can occur when using different Kodi addons. Users usually run into issues with connectivity, playback, and performance lag. Briefly discussing each problem can help you identify solutions.
In some cases, the network configuration could be incorrect, the router might just need a reset, or your cable or cable hand connections might be loose. Playback errors may appear if there are codec-related problems, noncompliant vehicles, or lagging issues.
Overheating in devices can lead to other issues as well, puncturing connectivity and performance, especially when using the Kodi media center for extended periods.
Resolving Connectivity Problems
Check network settings, restart the router, and verify all cable connections. Kodi offers diagnostic tools to help identify network issues. Testing the connection with other devices can expose larger network issues.
If problems continue, resetting your network settings could do the trick. Checking for software updates regularly is a great way to avoid these issues. Clicking the gear icon on Kodi’s main screen and then selecting System settings > Enable debugging can help solve crashing problems.
If your internet speed is too slow, you’ll experience buffering and stuttering – particularly when streaming 4K or HD content. These connectivity solutions can help lead you down the path to more binge-worthy streaming experiences.
Fixing Playback Errors
Playback errors can be caused by a codec not being installed, unsupported formats, or buffering issues. Always check file integrity and format compatibility before playback. You might find that clearing the Kodi cache fixes playback glitches, like streaming live TV freezing up after a few minutes.
If you are still getting these wrong, try reading different media. Problems due to hardware acceleration can lead to buffering problems, video stuttering, or even a black screen. Ensure the date and time are set.
Correct date & time on Amazon/eBay sourced STBs will fix Kodi not working. Go to app settings and force stop Kodi and Clear Cache. This is particularly useful if you’re on Android boxes or Amazon Firesticks.
Addressing Performance Lag
To optimize your Kodi media center, adjust the settings, upgrade hardware, and eliminate background processes. Keeping an eye on system resources is crucial to identifying performance bottlenecks, making it a straightforward process. Closing unneeded applications can significantly free up resources for your Kodi add-ons.
If lag is reproducible, consider upgrading to a faster Raspberry Pi model. Overheating has been a major culprit in performance lag, so ensure your hardware remains cool to support various Kodi packages effectively.
Monitoring Kodi’s logs on a frequent basis can fix 80% of issues, giving you clear insight into what’s wrong. If your Kodi streams are freezing, especially live TV streams, clearing Kodi’s cache can help fix this.
Conclusion
Combined with Kodi, a Raspberry Pi makes your media streaming experience simple, elegant, and fun. Between this combo, a world of entertainment is at your fingertips. Setting it up can seem daunting, but with easy step-by-step directions, it’s a breeze. With a little diligence, you’ll end up with a media setup that’s not only highly functional but immensely satisfying. Though some small glitches will be inevitable, they can usually be resolved with basic troubleshooting. With this configuration, get ready to enjoy freedom and excitement in the way you enjoy your media. Explore the newfound power of Raspberry Pi + Kodi and take your streaming to the next level. If you haven’t experienced Kodi before, there’s never been a better time to dive in and discover a world of rich media experiences.
Frequently Asked Questions
What is a Raspberry Pi?
A Raspberry Pi is a credit card-sized, inexpensive computer that is hugely popular among hobbyists and tech enthusiasts for DIY projects, especially for running the Kodi media center. Its powerful and flexible design allows for a smoother experience, making it ideal for various coding and electronics tasks.
How does Kodi work on Raspberry Pi?
Kodi is a free and open-source media center software that manages and plays your digital media. With its lightweight power, the Kodi addon on Raspberry Pi streams films, music, and photos seamlessly, making it the perfect hub for your entertainment.
How do I set up Kodi on Raspberry Pi?
First, you need to download and install an OS, such as LibreELEC, which is optimized for Kodi media center. Next, just follow the onscreen instructions to install different Kodi addons. Simply connect your Raspberry Pi to your TV and start streaming!
Can Raspberry Pi handle 4K streaming with Kodi?
The answer is yes. The Raspberry Pi 4 can do 4K streaming with the right Kodi addons. Of course, you’ll need to have a 4K-capable TV and set it up correctly, ensuring you’re on a good internet connection for the best playback.
What are the benefits of using Kodi on Raspberry Pi?
If you want to use Kodi on a budget, Raspberry Pi is one of the best options for a Kodi media center. It offers an incredibly customizable media hub with various Kodi addons, allowing you to enhance your viewing experience significantly.
How can I enhance my Kodi streaming experience on Raspberry Pi?
For the best performance and stability with your Kodi media center, use a wired Ethernet connection. Be sure to keep both Kodi and Raspberry Pi firmware updated, and consider installing various Kodi addons for additional functionality. Don’t hesitate to try overclocking, but do so at your own risk and with care.
What should I do if Kodi crashes on Raspberry Pi?
Stay tuned for more. Try clearing Kodi’s cache and rebooting your Raspberry Pi. If problems continue, consider uninstalling and reinstalling the Kodi media center to ensure a stable version.









Leave A Comment