
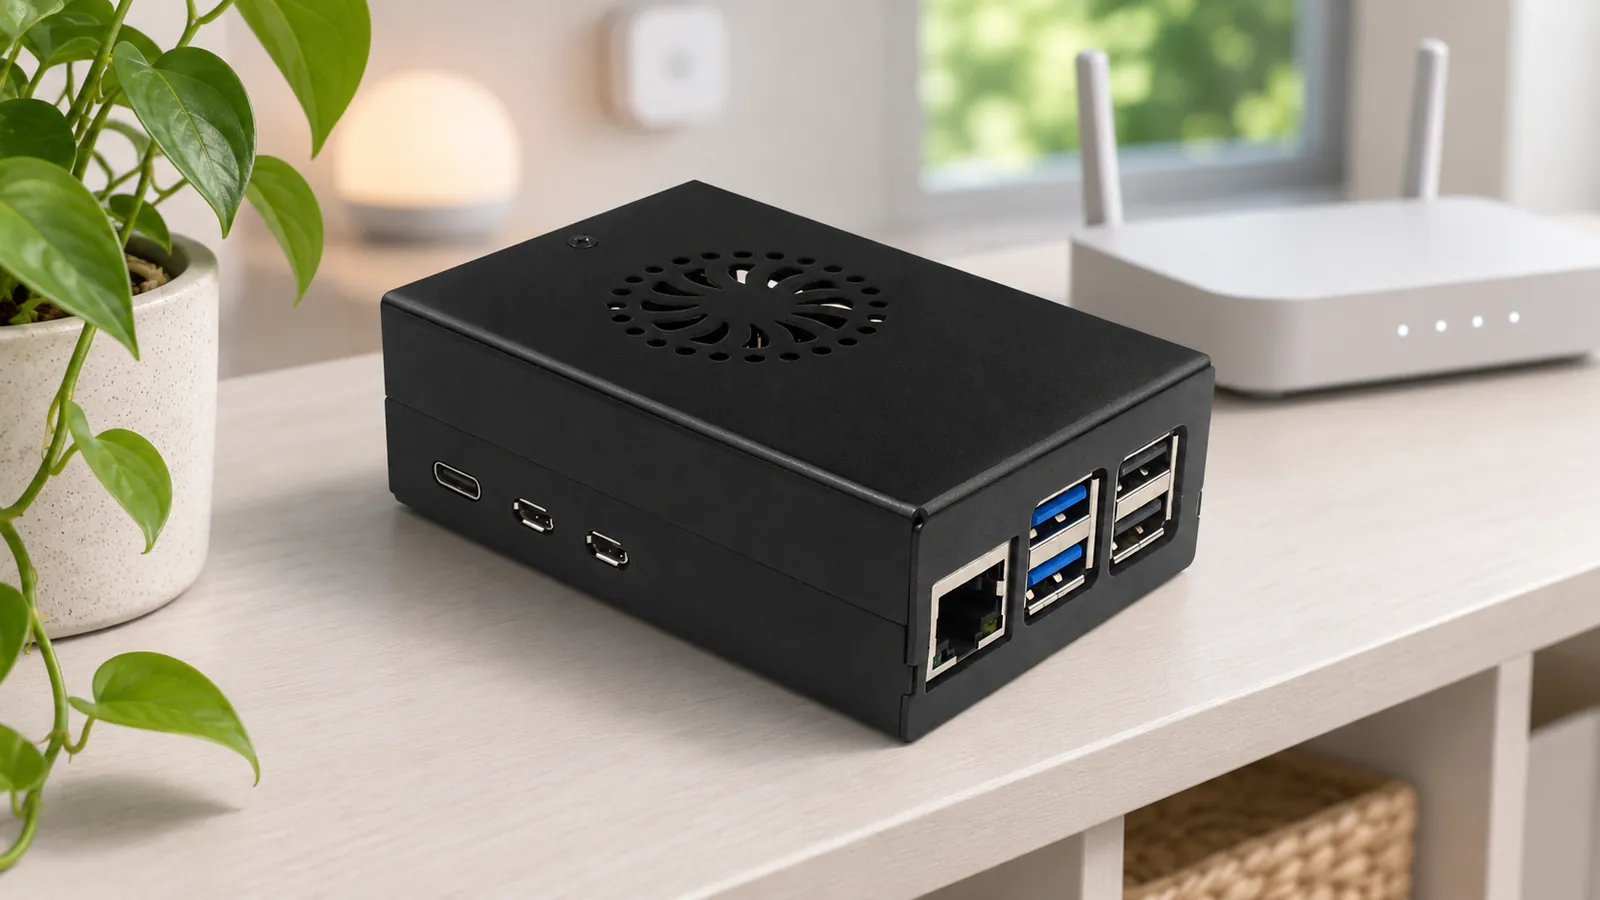
Home Assistant is most useful when it quietly stays available. That makes a Raspberry Pi 5 case decision less about a neat-looking box and more about the complete hub: where it will sit, how it will cool, which storage path it will use, and whether someone can reach the power, Ethernet and service points without dismantling the setup.
A Raspberry Pi 5 case for Home Assistant should be selected around that complete assembly. Home Assistant’s own Raspberry Pi guide supports the Pi 5, recommends a suitable microSD card for the initial installation, and highly recommends Ethernet after setup. Once you add continuous automations, backups, a local disk or an expansion plan, a board-outline-only case choice becomes a reliability risk. I would define the installed stack before comparing finishes.
Start with the Home Assistant deployment, not the empty board
Home Assistant recommends Home Assistant OS for most people bringing their own hardware. Its Raspberry Pi installation guide lists a Raspberry Pi 5 or Pi 4 with at least 2 GB RAM, an A2 microSD card of at least 32 GB, and Ethernet for installation; it also says wired Ethernet is highly recommended after installation. Those are deployment facts, not case-fit facts—but they tell us what the case must leave practical.
For a hub that may live on a shelf, beside a router or inside a utility space, my first check is simple: can the completed unit be powered, networked and inspected without removing it from its location? A compact shell may still be appropriate, but only if cable bends, the microSD path, cooling approach and future access are intentional.
Choose a case architecture that matches the storage path
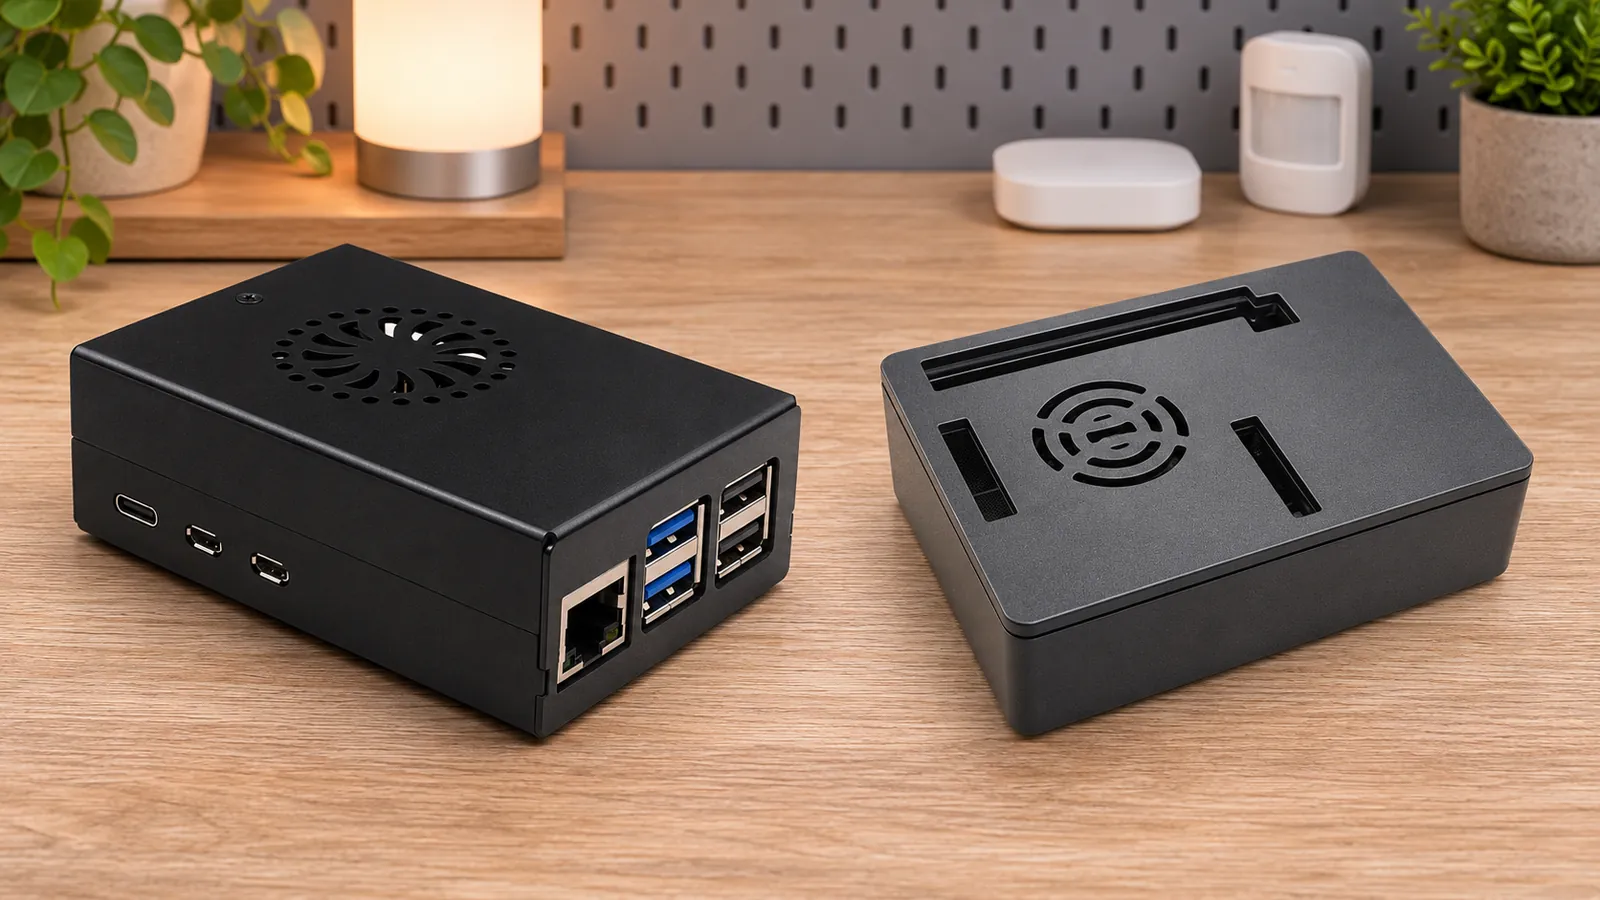
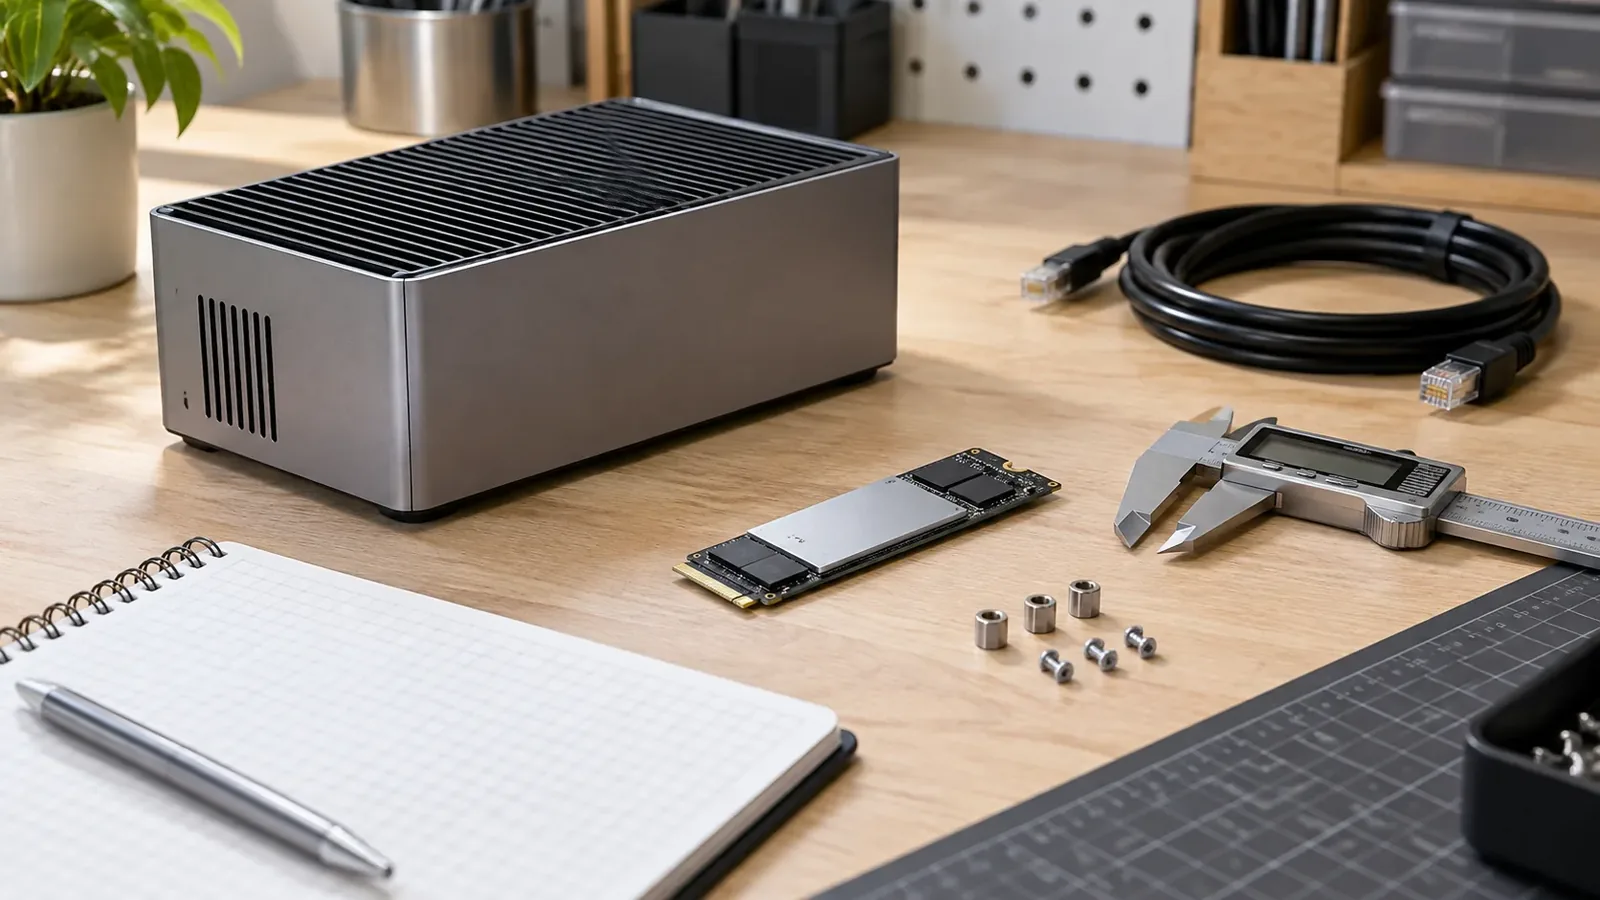
Start with the storage route, because it changes the case conversation. A microSD-first Home Assistant installation needs a case that keeps the card and board serviceable. An attached local disk needs cable exit space and a tidy route. An M.2 HAT+ or other PCIe-based storage approach is a physical stack: adapter, drive, cooling, spacers and lid clearance all matter together.
| Case architecture | Useful Home Assistant situation | Check before choosing | Limit to keep in view |
|---|---|---|---|
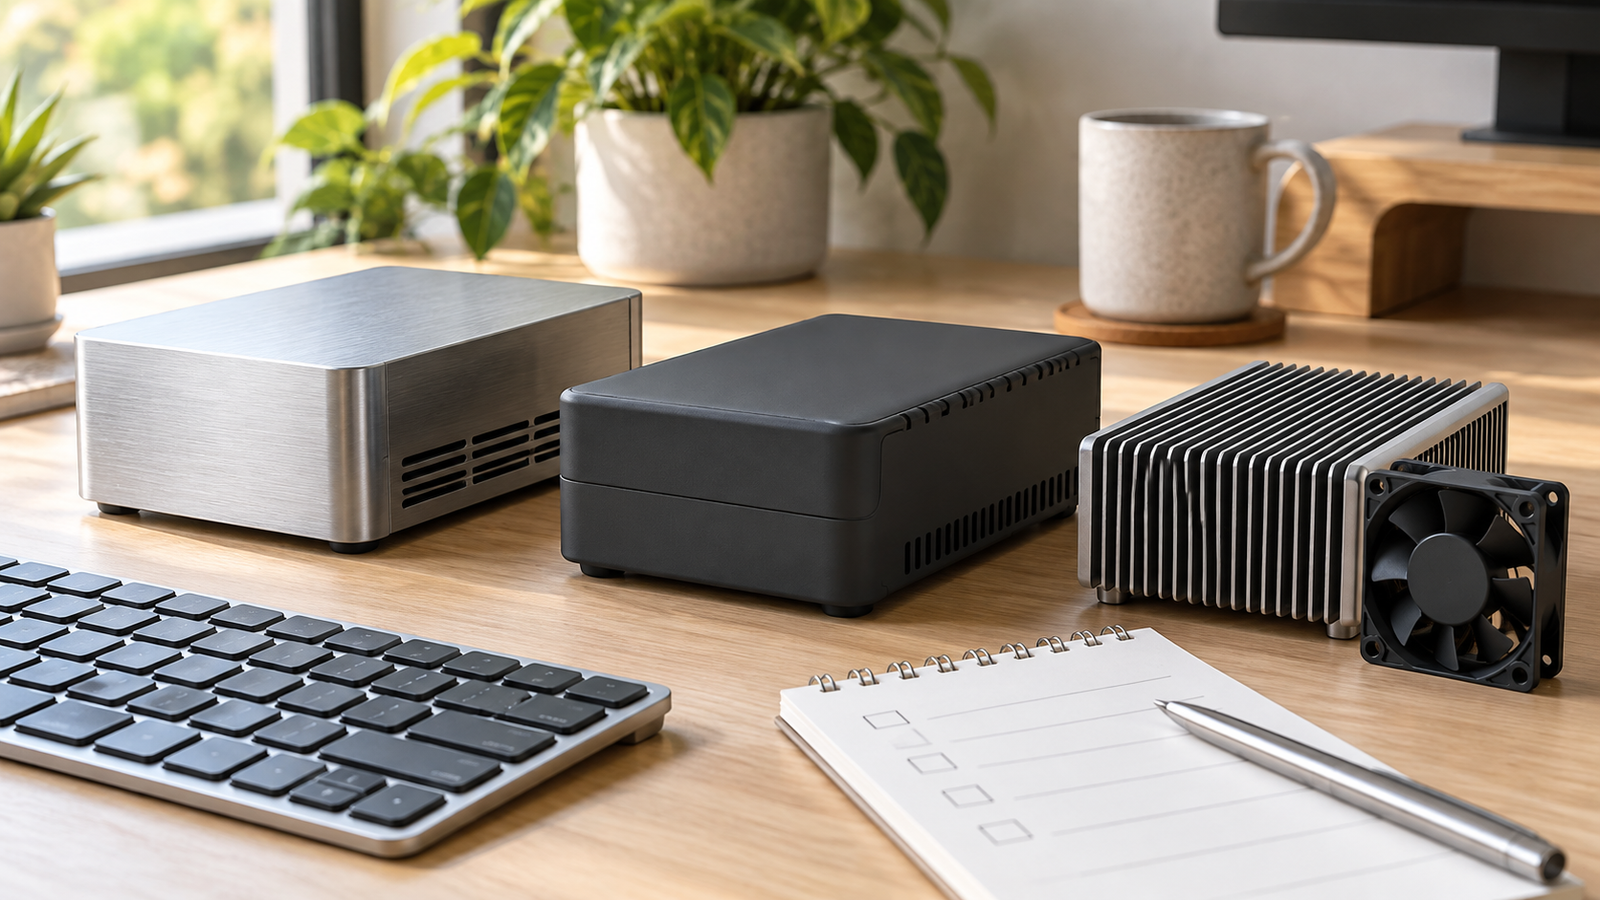
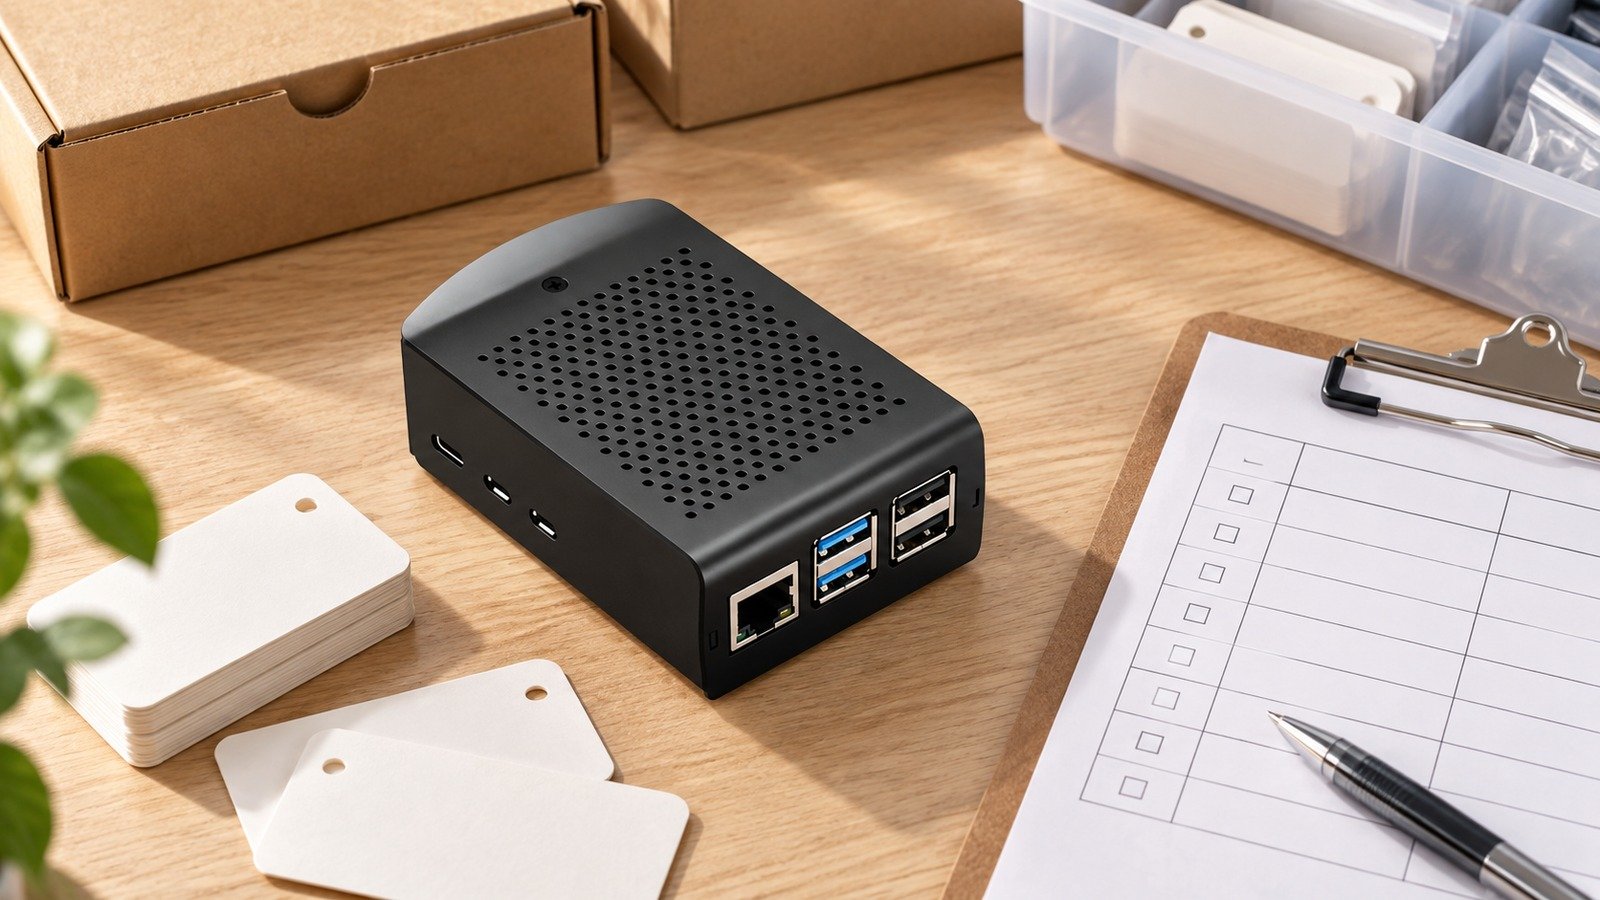
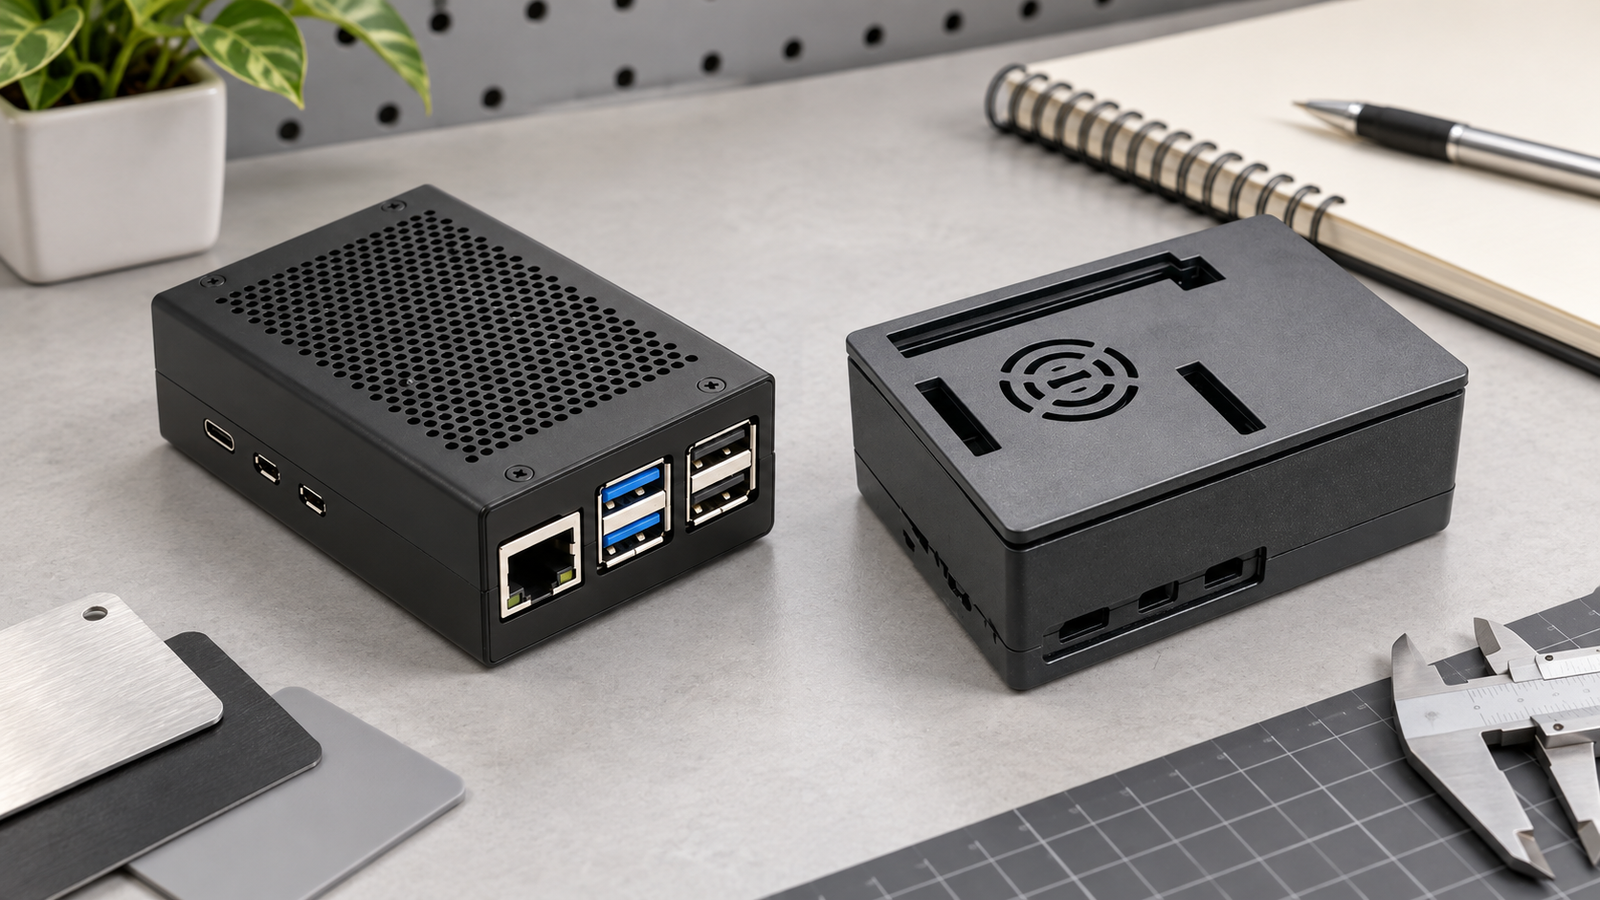
| Compact general-purpose shell | MicroSD-based hub with few accessories | Cooling space, cable bend and microSD service access | May not accommodate an added storage stack |
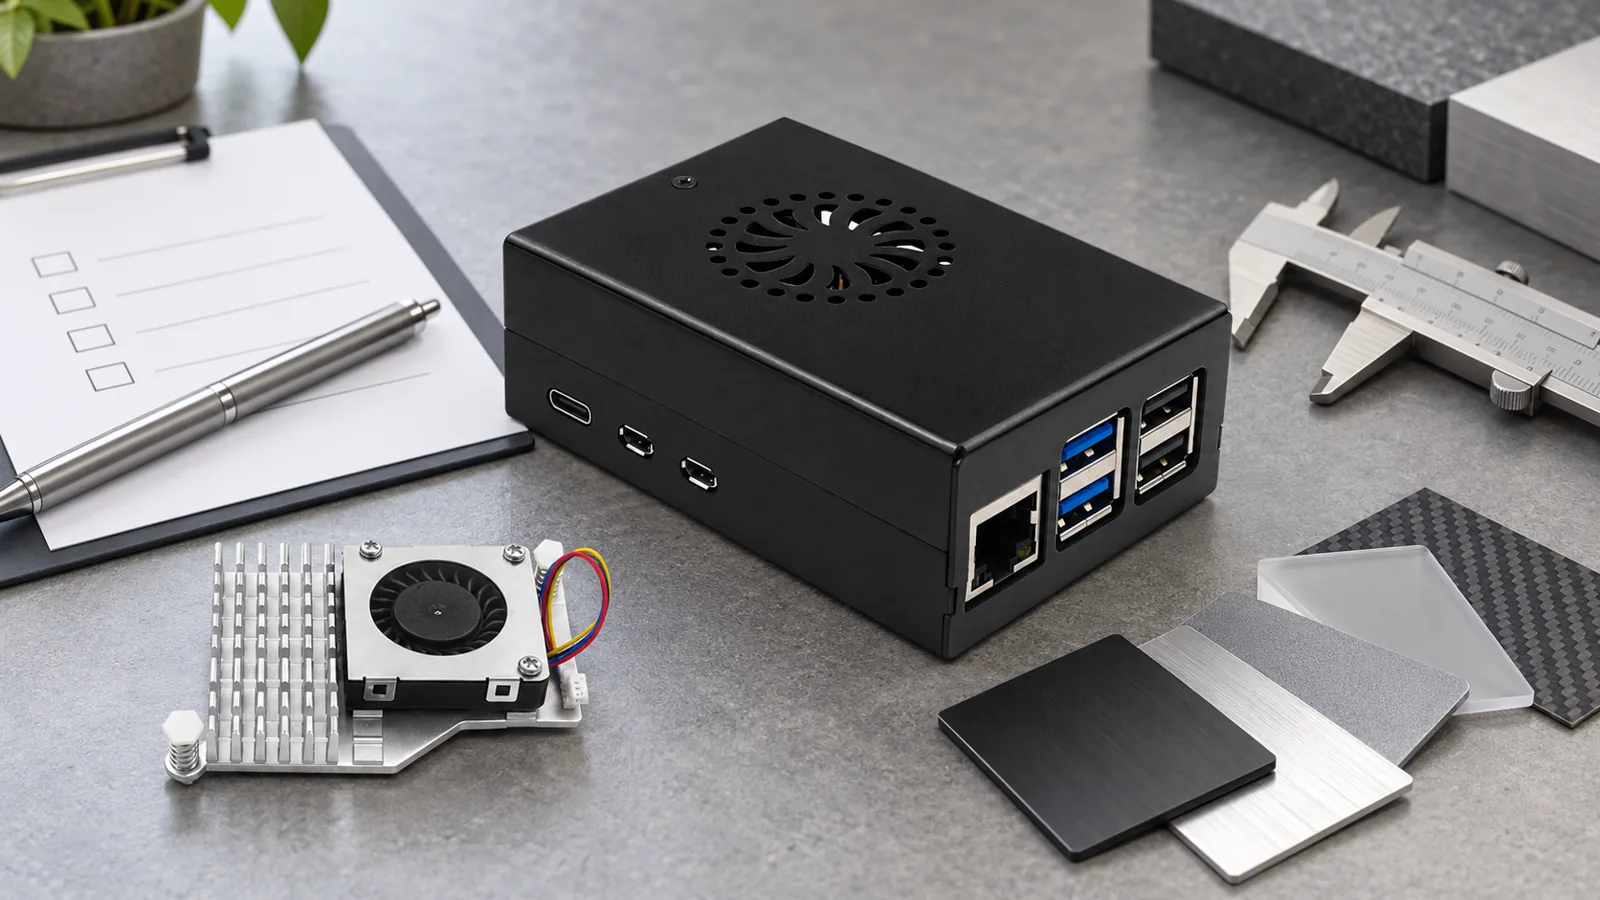
| Fan-oriented case | Continuous workloads or a warm installation location make active cooling part of the plan | Fan access, cleaning path, cable exits and final clearances | Does not prove a temperature or noise result |
| Heatsink-led metal case | Thermal contact and a rigid enclosure are relevant to the build | Exact cooler/contact design and accessory clearance | Fit with expansion hardware must be confirmed |
| Storage-aware assembly | Local disk, M.2 adapter or SSD is part of the specification | Adapter height, drive form factor, standoffs and lid/cable clearance | Depends on the selected adapter and drive |
The wrong sequence is buying a slim shell and discovering later that the storage choice dictates the whole stack. Begin with the verified Raspberry Pi 5 cases, then send the actual adapter and drive details for fit confirmation. For product directions, a Pi 5 aluminum case with an active cooling fan and a Pi 5 ABS active-cooler case are relevant families, but neither page establishes fit for every HAT or drive.
Plan cooling for availability, not just first boot
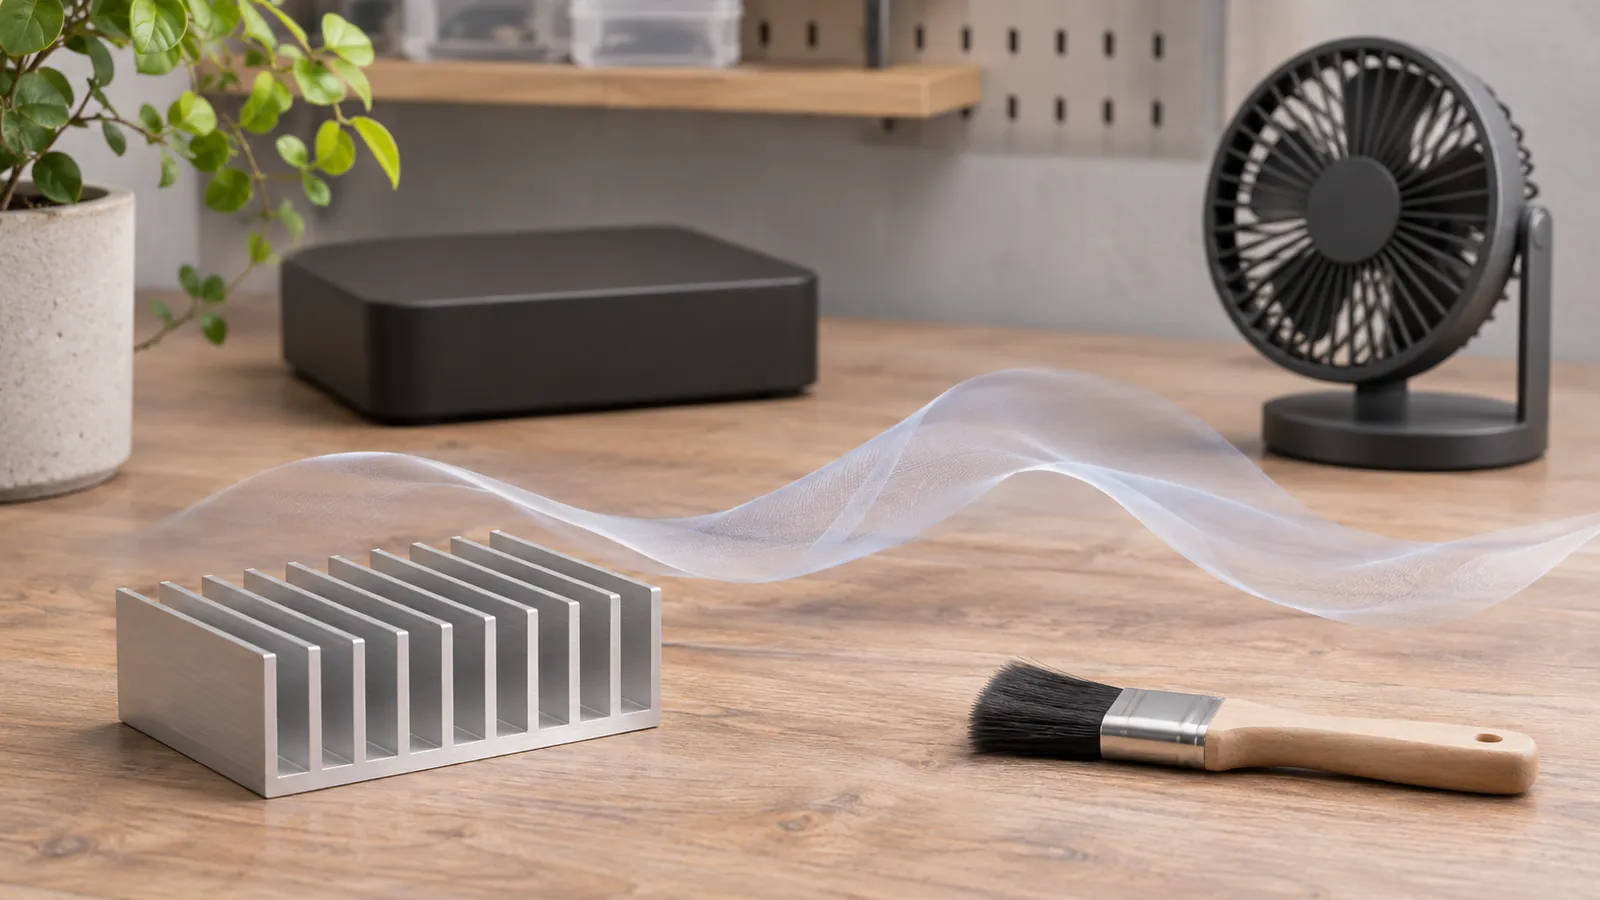
Home Assistant is not automatically a heavy workload, but an automation hub can be asked to do more over time: integrations grow, databases are retained, backups run, and add-ons may change the duty cycle. Raspberry Pi says cooling is optional for normal Pi 5 use, while heavy continuous workloads can result in thermal throttling. That makes cooling a design decision, not a sticker on the box.
What I would avoid is judging airflow from an open-bench setup. Shelf clearance, room temperature, dust, fan cleaning, nearby storage and the enclosure’s actual ventilation all change the result. A sensible specification states whether the system is expected to run sustained work, where it will be installed, and which cooling hardware is already selected. The verified Pi 5 heatsinks and cooling category is a good component path; final thermal behaviour still belongs to the assembled configuration.
Make storage reliable by checking the whole physical stack
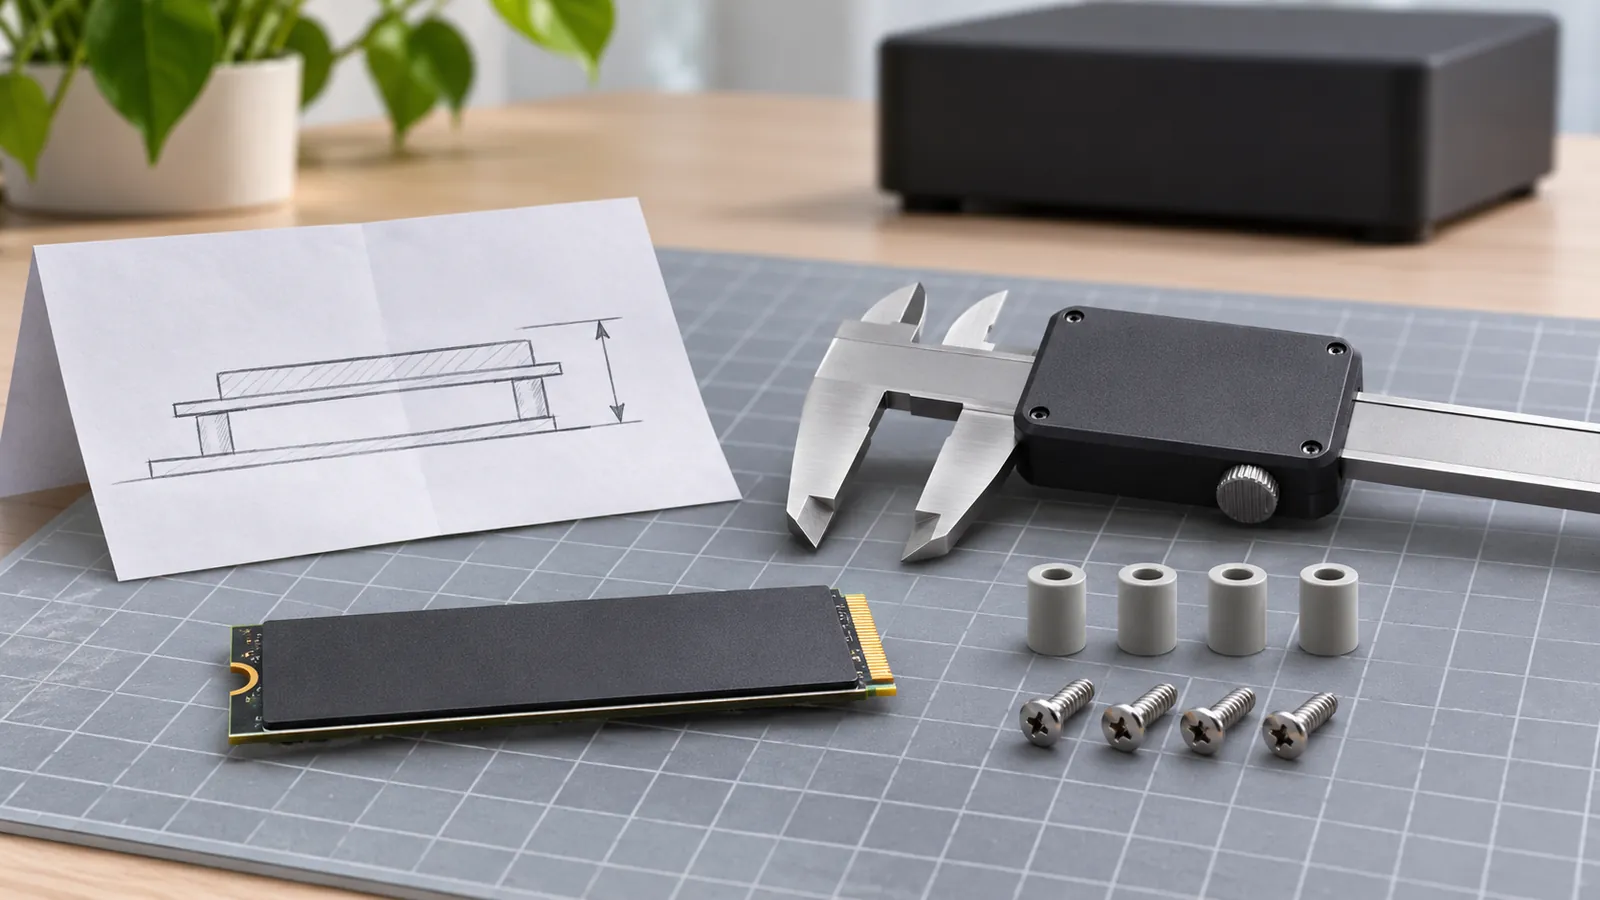
Home Assistant OS can use a preformatted local disk for media, shared files or backups and reconnect it after restart. That makes external or expansion storage a practical option, but the storage medium is only one part of the decision. The physical stack must also remain cool, reachable and mechanically plausible inside or beside the selected case.
Raspberry Pi’s M.2 HAT+ documentation is a useful warning against assumptions: its standard and Compact variants support different drive form factors and have different relationships with the official Pi 5 case and cooler. For a third-party case, I would treat the adapter height, SSD length, standoff positions, thermal solution and lid clearance as a single fit review. RaspberryPiBox’s verified inventory does not confirm a Pi 5 NVMe case or M.2 adapter for this exact combination, so the honest status is confirm with manufacturer.
Practical note: A storage plan that works on a bench may still become awkward if a case forces an SSD cable into a tight bend or blocks later inspection. Record the adapter and drive before ordering the enclosure.
Keep power, Ethernet and service access in one decision
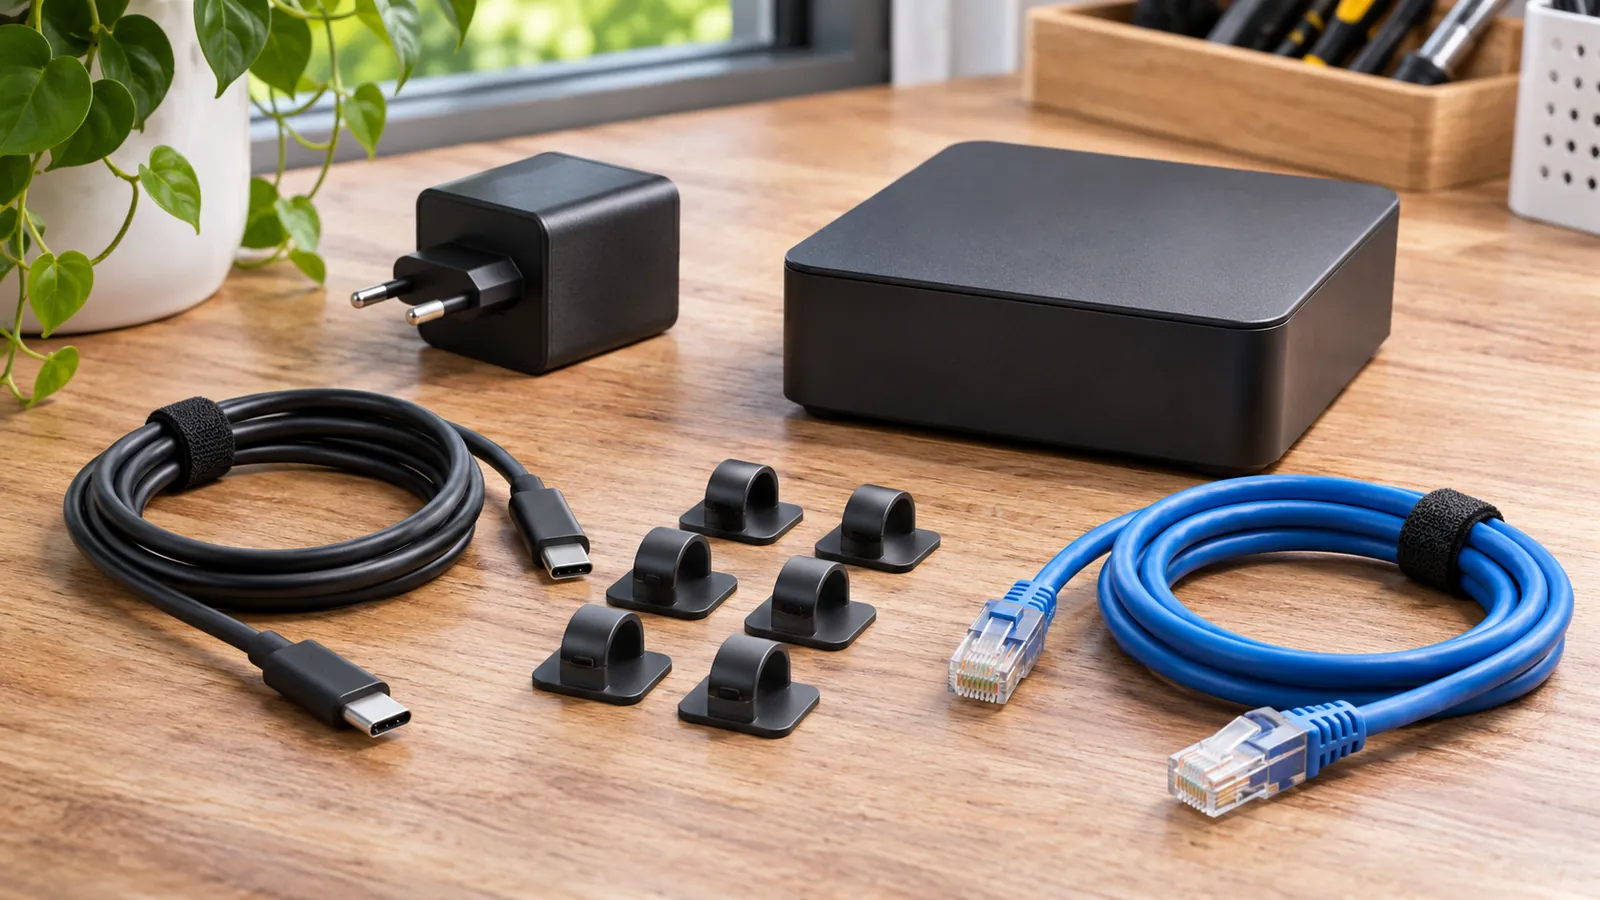
Home Assistant’s installation guide makes Ethernet part of initial commissioning and recommends it for dependable operation afterwards. Raspberry Pi recommends a quality 5V/5A USB-C supply for Pi 5 and warns that under-powered supplies can cause problems. Neither statement means a particular case or power unit guarantees uptime; together, they explain why power and network access should not be left to the last assembly step.
From a service perspective, the better case is often the one that leaves a clean path to the power connector, Ethernet lead and any attached storage without sharp bends or a cable bundle over the cooling area. Confirm the installed connector directions and peripheral load. The verified 5.1V 5A Pi 5 power supply is the closest product path for the board-power decision; the final budget remains dependent on peripherals.
Specify maintenance access before the hub becomes permanent
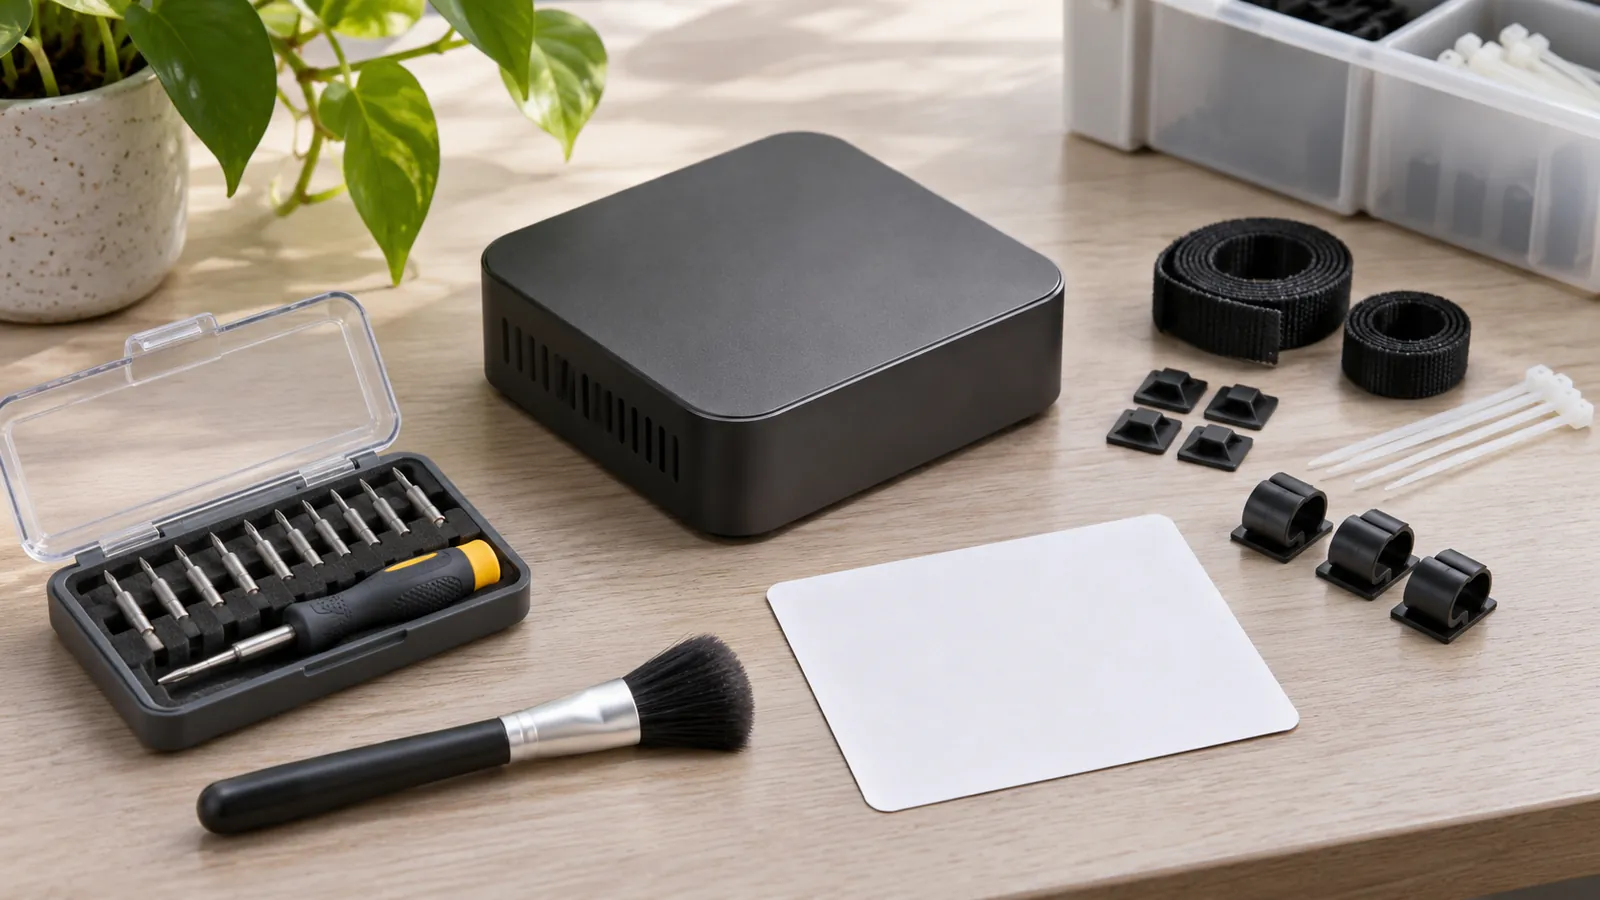
The case needs to support the second visit as well as the first build. Home Assistant hubs are commonly updated, backed up, moved, expanded or inspected after an integration changes. A nice low profile has little value if a card, fan, cable or storage device cannot be reached without removing every connection.
My practical buying checklist is short: board model; Home Assistant installation/storage route; any adapter and drive dimensions; selected cooler; power supply; connected Ethernet and USB leads; installation location; and the access needed for service. If any of those items are still open, discuss your Home Assistant Pi 5 case requirement before ordering. It is a calmer way to choose than treating “Pi 5 compatible” as the whole specification.
Need a case fit check for a Raspberry Pi 5 Home Assistant hub? Send the storage route and adapter, drive size, cooler, power supply, connected cables, installation location and access requirements.
FAQs
Does every Raspberry Pi 5 Home Assistant hub need active cooling?
Not as a blanket rule. Raspberry Pi describes cooling as optional for normal Pi 5 use, but continuous heavy workloads can throttle. Choose around workload, installation environment and the final enclosure.
Can any Pi 5 case hold an M.2 HAT+ and SSD?
No. Drive form factor, adapter height, cooling arrangement, standoffs, cable route and lid clearance depend on the complete stack. Confirm fit with the relevant supplier.
What information is needed for a case recommendation?
Provide the Pi 5 board, Home Assistant storage route, adapter and drive if used, cooler, power supply, connected cables, installation location and service-access needs.
Leave A Comment