

I remember feeling confused the first time I tried to set up my Raspberry Pi 5’s display. I wanted a quick fix, but I ended up tinkering for hours.
You can adjust your Raspberry Pi 5 display by selecting the right resolution, choosing rotation settings, and installing any needed drivers. After saving changes, a simple reboot often applies all new configurations.
My friend once joked that it looked like I was practicing yoga with my Pi—constantly tilting and turning the screen. Let’s skip the headaches together.
How can I adjust the screen resolution and rotation on Raspberry Pi 5?
I felt like I was staring at a puzzle when my screen kept flipping upside down.
Open the desktop’s preferences or use “sudo raspi-config” to set resolution and rotation. Save changes, reboot, and the display should align properly.
Let’s dive deeper from both angles:
Using the Desktop Interface
- Go to Preferences → Screen Configuration.
- Choose the resolution you want.
- Pick rotation settings if needed.
Using the Command Line
- Type
sudo raspi-config. - Head to Display Options.
- Select Resolution or Screen Blanking.
- Reboot for changes to take effect.
What steps are involved in connecting a 5-inch HDMI touchscreen to Raspberry Pi 5?
I once helped a buddy set up a mini touchscreen, and we tested it by drawing silly doodles with our fingertips.
Connect the 5-inch HDMI display to the Pi’s HDMI port, attach the USB cable for touch input, and install any required drivers. Once calibrated, the touchscreen should respond immediately.
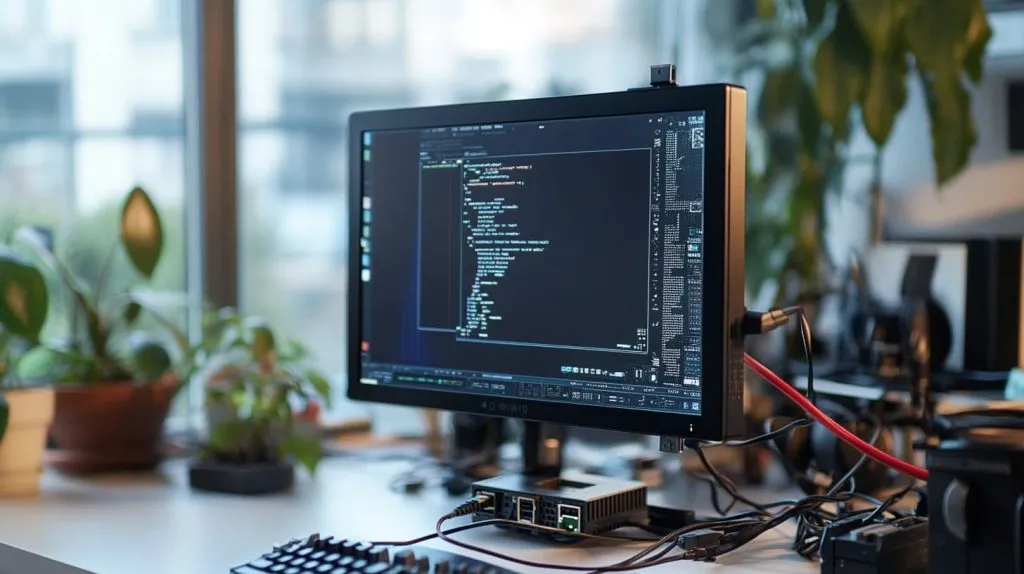
Let’s look at key steps:
Hardware Setup
- Plug in the HDMI cable from the Pi to your touchscreen.
- Connect a USB cable for touch capability.
Driver and Calibration
- Install any special drivers from the manufacturer.
- Adjust calibrations in configuration files if necessary.
How do I set up a 3.5-inch display on my Raspberry Pi 5?
Small displays can be adorable, but they can also test your patience if you’re new to the process.
Attach the 3.5-inch display through either GPIO or HDMI, depending on its design. Install matching drivers, tweak config files, and reboot to confirm everything works.
You may want to consider:
GPIO Screens
- Often need custom overlays in
/boot/config.txt. - May require additional software.
HDMI Screens
- Plug in as you would a regular monitor.
- Use raspi-config to fine-tune resolution.
What are the common issues and solutions when configuring screens on Raspberry Pi 5?
I’ve faced blank displays and funky color problems that made me question my sanity.
Typical issues include the wrong resolution, outdated drivers, or insufficient power. Check your cables, power supply, and make sure you have the right overlays in config files.
Possible fixes:
Power Checks
- Use a reliable power source.
- Avoid underpowered USB ports.
Driver Updates
- Run
sudo apt-get updateandsudo apt-get upgrade. - Remove conflicting display packages.
Editing Config Files
- Confirm
hdmi_force_hotplug=1if your screen isn’t detected. - Adjust specific lines for rotation or resolution.
How can I use the 'raspi-config' tool to change display settings on Raspberry Pi 5?
I love how quickly the command line works, especially during remote sessions.
Run “sudo raspi-config,” select Display Options, then pick the resolution or screen blanking preferences. Reboot, and your screen settings should apply right away.
Additional details:
- Type
sudo raspi-config. - Use arrow keys to move between options.
Adjust Display Settings
- Choose Resolution to set the right size.
- Enable or disable screen blanking.
Save and Reboot
- Select Finish, then reboot.
- Your new settings should be active.
Conclusion
Setting up screens on the Raspberry Pi 5 can be smooth once you know where to look. Enjoy your perfectly tuned display!





Leave A Comment