 Skip to content
Key Takeaways
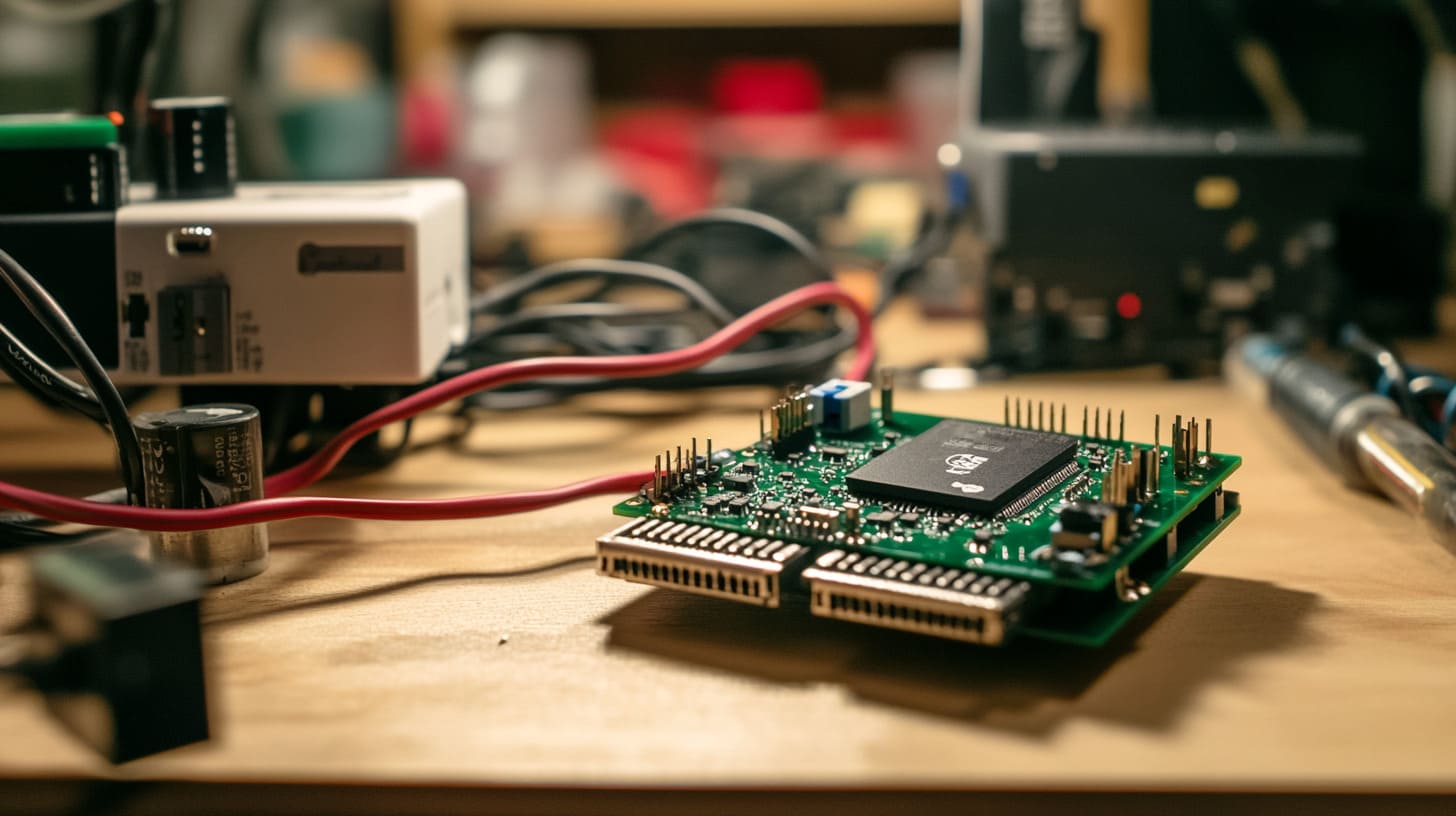
The Raspberry Pi Zero W is a tiny powerhouse that combines APRS with SDR. It's a great option for hobbyists and tech enthusiasts looking to get into radio communications.
In order to set up and use it correctly, you need to know a little something about APRS (Automatic Packet Reporting System) and SDR (Software Defined Radio). These systems are essential for receiving and transmitting data efficiently.
There are a series of methodical steps to set up the Raspberry Pi Zero W for APRS SDR. This may also involve setting up the necessary software and hardware components to ensure seamless integration and operation.
To set up APRS on a Raspberry Pi Zero W, you first need to know the software environment well. Understanding the network settings is important for achieving performance and reliability.
It’s affordable, lightweight, and has a strong community behind it that offers plenty of resources and support for problem-solving.
Common issues with Raspberry Pi Zero W in APRS SDR applications can be easily fixed by troubleshooting effectively. Look for software glitches, hardware connections, and network configurations to make sure everything runs smoothly.
Wondering how to get started with the Raspberry Pi Zero W for APRS with SDR? It’s a lot easier than you might think! This guide will introduce you to the thrilling world of inexpensive, small devices.
We’ll guide you through setting up your very own system! Unleash the power of real-time data, and enter the tech universe where signals are stories. Whether you’re a tech beginner or a seasoned expert, you’ll find your path to mastery with our straightforward guide.
Open the doors to new opportunities and watch how data can connect us all. Are you ready to geek out? Come along for the ride with us!
What is Raspberry Pi Zero W
The Raspberry Pi Zero W is a small and inexpensive single-board computer. It's a great choice for DIY projects and for anyone who wants to be able to program. Imagine a full-fledged computer that fits in the palm of your hand. That’s what this device provides.
Its small size and low price make it accessible to hobbyists, students, and professionals alike. It’s really popular with anyone who's into DIY electronics and building interesting projects. The Raspberry Pi Zero W is more than just a gadget. It's a portal into the world of computing, electronics, and programming—unless you built it yourself.
Perhaps the best feature of the Raspberry Pi Zero W is that it’s wireless. It also has an onboard Wi-Fi and Bluetooth module, which unlocks a whole new world of possibilities for IoT projects.
Want to automate your home? Want to build a smart device or set up a wireless network? This device has you covered! It has a good internet connection as well as a connection to other devices. This capability makes it a versatile tool for a range of projects.
With the Raspberry Pi Zero W, you can set up a media center that streams content wirelessly to your TV. You can also build yourself a robot you control via Bluetooth! It’s not just a computer, though. It's your bridge to a connected world.
For those interested in hardware interfacing and expansion, the Raspberry Pi Zero W's GPIO (General Purpose Input/Output) pins are a game-changer. These pins allow you to connect and control a variety of electronic components, providing a hands-on experience with hardware design.
From simple LED projects to complex robotics, the GPIO pins let you expand the device's capabilities in countless ways. An example might be turning this tiny computer into a weather station by connecting sensors that measure temperature and humidity.
For radio enthusiasts, it can be used in Amateur Radio APRS (Automatic Position Reporting System) projects as a receive-only IGate. This is a device that not only supports creativity but also encourages experimentation and learning in electronics.
The Raspberry Pi Zero W is praised for being power efficient and extremely small in size. That makes it a brilliant choice for projects with limited space or where power consumption needs to be minimal.
Consider running a remote sensor that gathers data in an inaccessible area. Its diminutive size means you can put it just about anywhere. Plus, it uses power efficiently, so you get longer operation times on battery.
It’s a tool that enables sustainable and innovative project designs, challenging users to think differently.
Understanding APRS and SDR
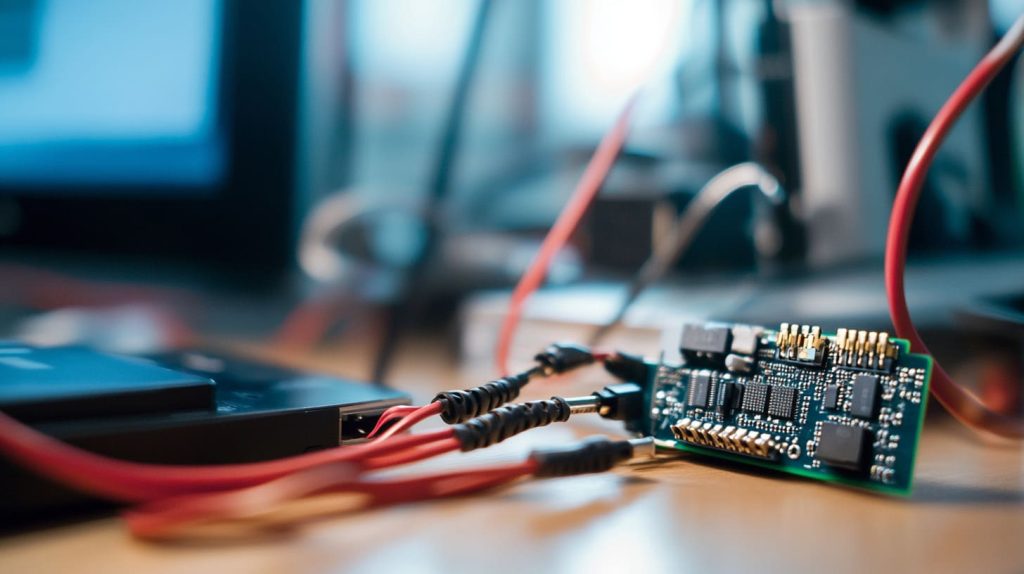
Adventuring into APRS and SDR combined allows for a vast expansion of communication. APRS, or Automatic Packet Reporting System, is a digital communication method that sends current information to the other side. It’s used widely in amateur radio to allow for position reporting and messaging. This system is critical for emergency communications, where timely and accurate information can literally save lives.
Components such as digipeaters and gateways are critical, forwarding messages across vast distances. If you use a collinear antenna at approximately 30′ AGL, you will be able to receive stations over 50 miles away. This example highlights the remarkable efficiency of APRS in a wide range of areas.
APRS Overview
APRS is loaded with features to satisfy both the hobbyist and the emergency responder. Its core functionality includes position tracking, enabling users to share their locations in real-time. This is helpful not just for leisure activities such as hiking or boating, but for search and rescue missions.
Messaging capabilities make it even more useful by letting users send and receive short text messages. In emergency scenarios, APRS is a reliable backup when traditional communication networks collapse. Digipeaters amplify signals and extend the distance for APRS. Gateways connect APRS networks to the internet, facilitating smooth communication across the world.
SDR Basics
Software Defined Radio, or SDR, is a new breakthrough in radio signal processing. Typical hardware radios use fixed circuits; SDR uses software to control the radio functions, providing unmatched flexibility. This software-defined technology enables users to process a wide range of frequencies and modulation types.
Common uses of SDR include amateur radio, where hobbyists are able to access many frequencies and modes through one device. Another area where SDR shines is signal analysis, giving insight into radio spectrum usage. The benefits of SDR are substantial — it’s affordable and can be modified as technical requirements change.
We suggest working with a dongle that has a Temperature Compensated Crystal Oscillator (TCXO) for improved steadiness. There's no calibration required with this type of dongle, as it maintains frequency accuracy.
To avoid problems, ensure that the local oscillator is offset just a little bit. This key step prevents wanted signals from hitting the 0Hz point. Organizing files correctly is essential. For instance, if you face a CRC error while unzipping, you can check the MD5 checksum to confirm the file’s integrity.
This attention to detail avoids 90% of the problems. Most of these issues are caused by corrupt archives or errors when trying to use the instructions. The simplification of processes, such as Direwolf automatically starting, is one of the signs of the growing adoption of SDR.
Setting Up Raspberry Pi Zero W for APRS SDR
To set up your Raspberry Pi Zero W for APRS SDR, follow these essential steps:
Gather all necessary components.
Install the operating system.
Configure network settings.
Install SDR software.
Connect and test hardware.
The success of each step will allow for efficient APRS SDR. Follow them methodically.
1. Gather Necessary Components
Get all the parts you’ll need together before you go into setup mode. Here's a list:
Raspberry Pi Zero W: The core of your setup.
Power Supply: A reliable source to power your Pi.
MicroSD Card: At least 8GB to house your operating system.
Antenna: A collinear at about 30' AGL can receive signals from over fifty miles.
Additional Accessories: Include a case, heat sinks, and cables as needed.
You’ll have everything you need for a smooth setup right out of the gate.
2. Install Operating System
Follow these steps to install the operating system on your Raspberry Pi Zero W:
Choose a suitable OS like Raspbian from the official Raspberry Pi website.
Use a tool like Balena Etcher to write the image on your card. If you experience CRC errors, check the MD5 checksum.
Windows 7 users may need to use 7-Zip to unarchive files properly.
After it boots, make any adjustments to language, time zone, and network settings you'd like.
These steps set the stage for a resilient operating system environment.
3. Configure Network Settings
Setting up network connectivity is crucial for APRS functionality:
Use the Raspberry Pi's interface to connect to your network.
Ensure the connection is stable by checking signal strength and internet access.
A reliable connection to the internet enables real-time data processing and transmission.
4. Install SDR Software
For the SDR software, consider these options:
GQRX: Simple to install and use.
Direwolf: Already installed as a service. Enable it with
sudo systemctl enable direwolf.
Make sure you read official documentation for each piece of software as well. A compatible choice boosts system performance.
5. Connect and Test Hardware
Connecting hardware components is the final step:
Be sure to make the right connections to pick up the signals.
Testing these connections prior to software configuration can save you considerable troubleshooting time. Adjusting the local oscillator prevents that interference exactly at 0Hz, improving signal clarity.
Configuring APRS on Raspberry Pi Zero W
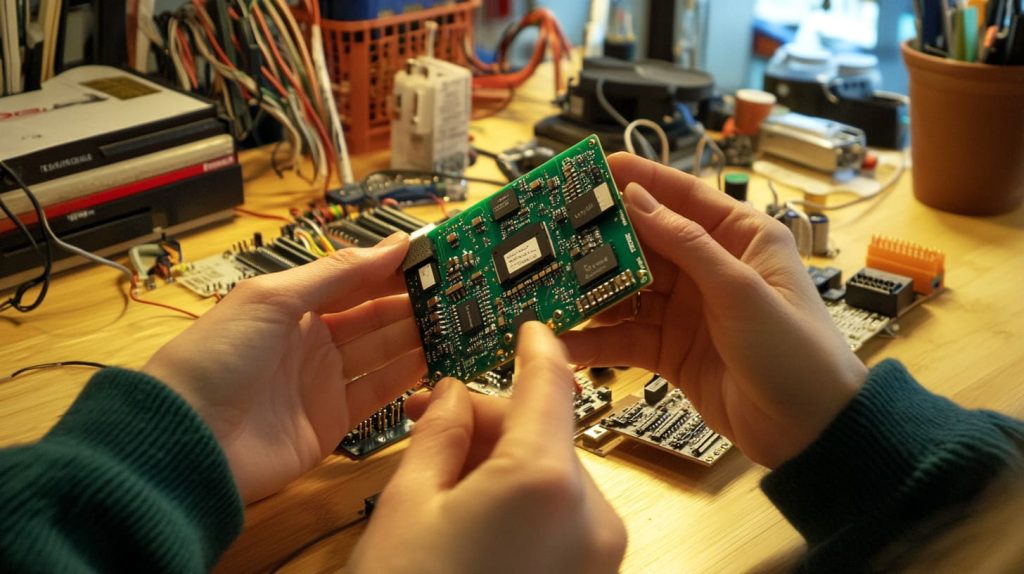
How we plan to set up APRS (Automatic Packet Reporting System) on Raspberry Pi Zero W. Having a system to follow will set you up for success. Here's a detailed guide to help you through the process:
1. Install APRS Software
You'll need to choose the right software. Popular options include Direwolf, Xastir, and YAAC, each with its strengths. Direwolf is a good choice because it's easy to use and reliable.
Before installation, check the software version is compatible with your Raspberry Pi OS to avoid issues. For installation:
Use the command
sudo apt-get install direwolfto install. It requires ALSA to be set up for audio, so do that first.For Xastir, install via
sudo apt-get install xastir. It also requires libraries such as GTK and Motif, which you have to install separately.Download YAAC from its official site and follow its instructions for Java setup.
When using a dongle with TCXO (Temperature Compensated Crystal Oscillator), the frequency is stabilized. This avoids drift and eliminates the need for frequency calibration. This setup readily picks up stations more than fifty miles away. It uses a collinear antenna positioned about 30 feet off the ground.
2. Set Up APRS Settings
Now, let's look at setting up your APRS settings. This is essential for identifying your station in the APRS network. Accurate location settings help make your transmissions more precise.
Select the appropriate frequency based on your region's APRS frequency allocations.
Decide how often your station should send beacons. A common setting is every 30 minutes, but adjust this to your needs.
Standard message formats ensure your data is correctly interpreted by other stations.
Oh, and don’t forget to save all settings. If settings aren't saved, you may encounter issues like bind failure errors with error: 98, where ports are already in use. If necessary, change the AGWPORT in the configuration file to another port number.
3. Test APRS Functionality
You never know until you test, which is an extremely important step to make sure everything gets done. Here's a checklist:
Ensure your setup can send and receive APRS packets well.
Use tools to monitor incoming and outgoing traffic, ensuring smooth operation.
If issues arise, such as CRC errors during file extraction, verify the MD5 checksum for file integrity.
Update your APRS image to the most recent one with 7-zip or similar. The instructions have changed just a little bit from my earlier posts. Now, I’ve made it a little easier to automate starting Direwolf!
This is currently not supported by me anymore, so check out my blog for detailed instructions.
Benefits of Using Raspberry Pi Zero W for APRS SDR
Cost-Effective Solution
Raspberry Pi Zero W is a standout for the budget-conscious exploring APRS and SDR. It provides a competitive advantage at only a fraction of the cost. Traditional setups can’t compete with this advantage on the market. The Pi Zero W shines by keeping costs much lower.
Unlike other APRS solutions that require multiple expensive components, it works with its affordable accessories without a hitch. That makes it accessible, particularly for students or hobbyists on a budget. You could easily wind up spending hundreds on a basic setup. However, with Raspberry Pi, you only need a few dozen dollars!
This creates an opportunity for DIYers. They can even save money by building their own setups or salvaging components from other devices, making the project more cost-effective.
Portable and Compact
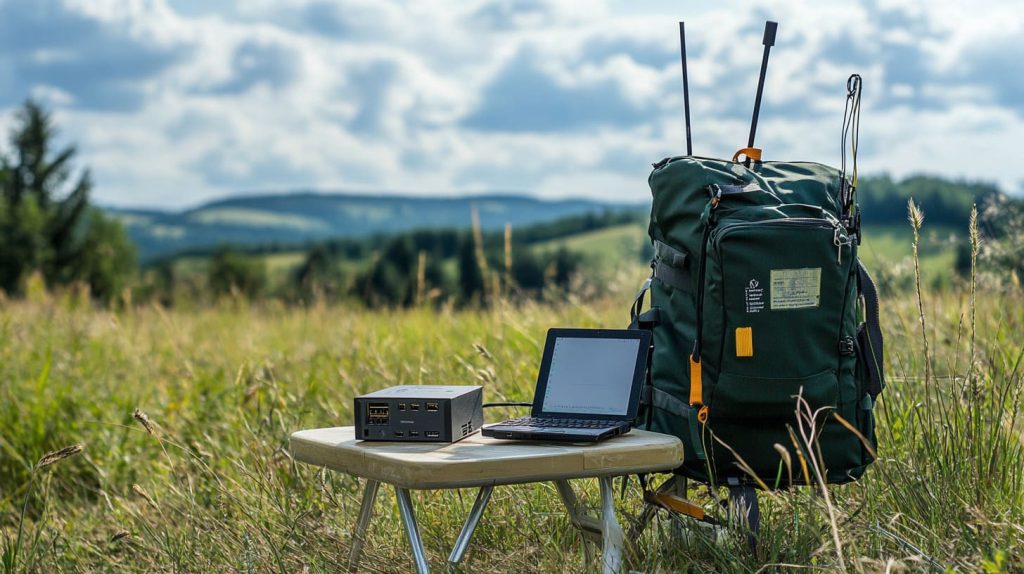
The Raspberry Pi Zero W has a small form factor and is lightweight. It's the perfect option for anyone looking for a mobile solution. Its small form allows you to take it in your pocket or backpack. This mobility makes it ideal for mobile operations or field deployments.
Setting up in a remote location? With the Pi Zero W, it's unbelievably easy. Swirling between sites? It's an unparalleled convenience for any transition. Finding a spot for your setup is a snap.
Its minimal space requirement means you won't need to spare much room to get everything up and running. This portability allows for quick deployment and teardown, providing versatility for outdoor trips, emergency response, or other specific situations.
Versatile Applications
In the context of APRS and SDR, the versatility of Raspberry Pi Zero W is truly remarkable. For starters, it’s useful for tracking; you could easily track where things or people are. This is a tool that simply thrives on reporting weather data.
It provides real-time information that is as precious to individual and community safety. In emergency communications, its adaptability really shines. It can also be configured quickly to meet the specific needs of any crisis situation.
Whether you’re experimenting at home or working on a larger community project, the Pi Zero W adapts to your needs. It can effortlessly wear many hats. Its ability to cater to different user needs makes it a valuable asset in any tech enthusiast’s toolkit.
Troubleshooting Common Issues
When you’re working with the Raspberry Pi Zero W for APRS SDR projects, there can be some challenges. No worries—getting over these hurdles can provide fantastic learning experiences! Here’s a list of common issues folks face:
Connectivity problems
Software installation errors
Hardware compatibility issues
A systematic approach to troubleshooting is essential. Let’s break down how you can address these issues.
Connectivity Problems
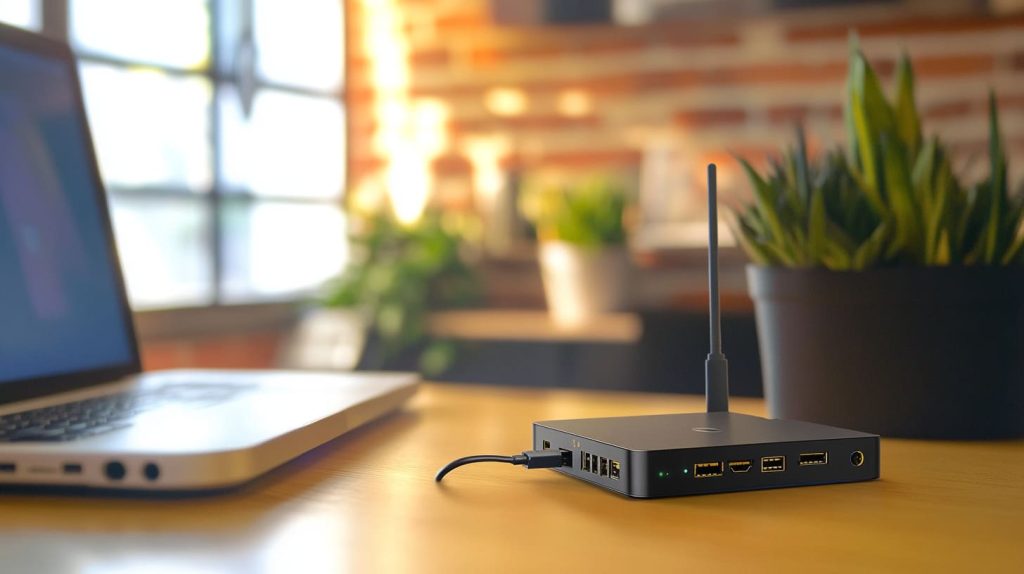
First, let's examine connectivity problems. If your Raspberry Pi Zero W isn’t connecting properly, start by diagnosing the Wi-Fi signal strength. Make sure your network configuration settings are right. Sometimes, just moving the Pi closer to your router can solve weak signal issues.
Double-check that you’re using a charge and sync cable, not a charge-only one. Without the right cable, enabling SSH won’t make a difference. While the Pi is in gadget mode, you can log in using a serial connection. Just make sure you have all the pieces in place. This grants access without messing with network settings.
For USB Ethernet gadget mode, make sure your cable is good. An improper cable or a misconfigured network setup accounts for 80% of problems here. You may also need to set static IPs and MAC addresses when g_ether is loaded.
Software Installation Errors
Second, software install errors can be quite the pain in the rear. Start with a checklist: Are your dependencies in order? Is your software up to date with the Pi Zero W? Most common error messages will guide you in the right direction.
For example, if you see a “dependency not met” error, double-check your installations. Having the correct versions of the software is critical. Make sure the software and its dependencies match the operating system on your Raspberry Pi.
Updating (or downgrading) to a compatible version can fix a lot of errors. This step keeps you from having things get too far afield and maintains a smooth operation.
Hardware Compatibility Issues
Lastly, hardware compatibility is key for smooth operation. Here are some tips to ensure everything works well together:
Use SDR dongles, which are known to work well with the Raspberry Pi Zero W.
Check specifications meticulously before buying new components.
Connect the male end of the USB host to the innermost micro USB socket on the Zero (W(H)). Then, plug in the microB male end.
These checks prevent frustrating compatibility issues that can derail your project. If your hardware meets the Raspberry Pi’s requirements, your time and effort will be saved. Just double-check specifications before purchase to avoid missteps and ensure your setup runs smoothly.
Conclusion
You’ve got the basics of Raspberry Pi Zero W for APRS and SDR. The Raspberry Pi Zero W opens up a world of possibilities. It’s small, but it packs a punch. The setup can feel tricky at first but don't worry. With a bit of patience, you’ll master it. APRS and SDR bring rich data to your fingertips. It makes communication smooth and efficient. The benefits are clear: affordability, flexibility, and power. You’ll find troubleshooting gets easier with practice. The more you explore, the more you'll learn. Dive in and experiment; every challenge is a learning opportunity. Keep sharing your insights and experiences with others. It helps us all grow together. Ready to start your journey? Head over to your workspace and get those gears turning. You got this. Don't forget to check out our blog for more tips and tricks. Happy exploring!
Frequently Asked Questions
What is the Raspberry Pi Zero W?
The Raspberry Pi Zero W is a tiny, low-price computer. It's equipped with Wi-Fi and Bluetooth capabilities, so it's perfect for any number of tech projects.
How does APRS work with Raspberry Pi Zero W?
APRS uses the Raspberry Pi Zero W to send live data. It provides GPS information, weather data, and more using radio signals.
What is SDR in the context of Raspberry Pi Zero W?
SDR or Software-Defined Radio lets Raspberry Pi Zero W receive and interpret radio signals. It’s flexible and can adapt to different radio protocols.
How do I set up APRS on Raspberry Pi Zero W?
Install some software (like Direwolf) to decode APRS. Hook up your radio and set it up. Follow guides online for step-by-step details.
What are the benefits of using Raspberry Pi Zero W for APRS SDR?
Beyond being cost effective, it’s versatile. Enter the Raspberry Pi Zero W, which has connectivity, portability, and a massive amount of community support behind it for APRS SDR projects.
What should I do if my Raspberry Pi Zero W setup for APRS SDR isn't working?
Check connections and power supply. Double-check that you’ve installed the right software. Check online forums to troubleshoot certain errors.
Is Raspberry Pi Zero W a good choice for beginners in APRS SDR?
Is it user-friendly for beginners? It's affordable, has lots of resources, and a good community around it, which makes it a great choice to learn APRS SDR.








Leave A Comment